
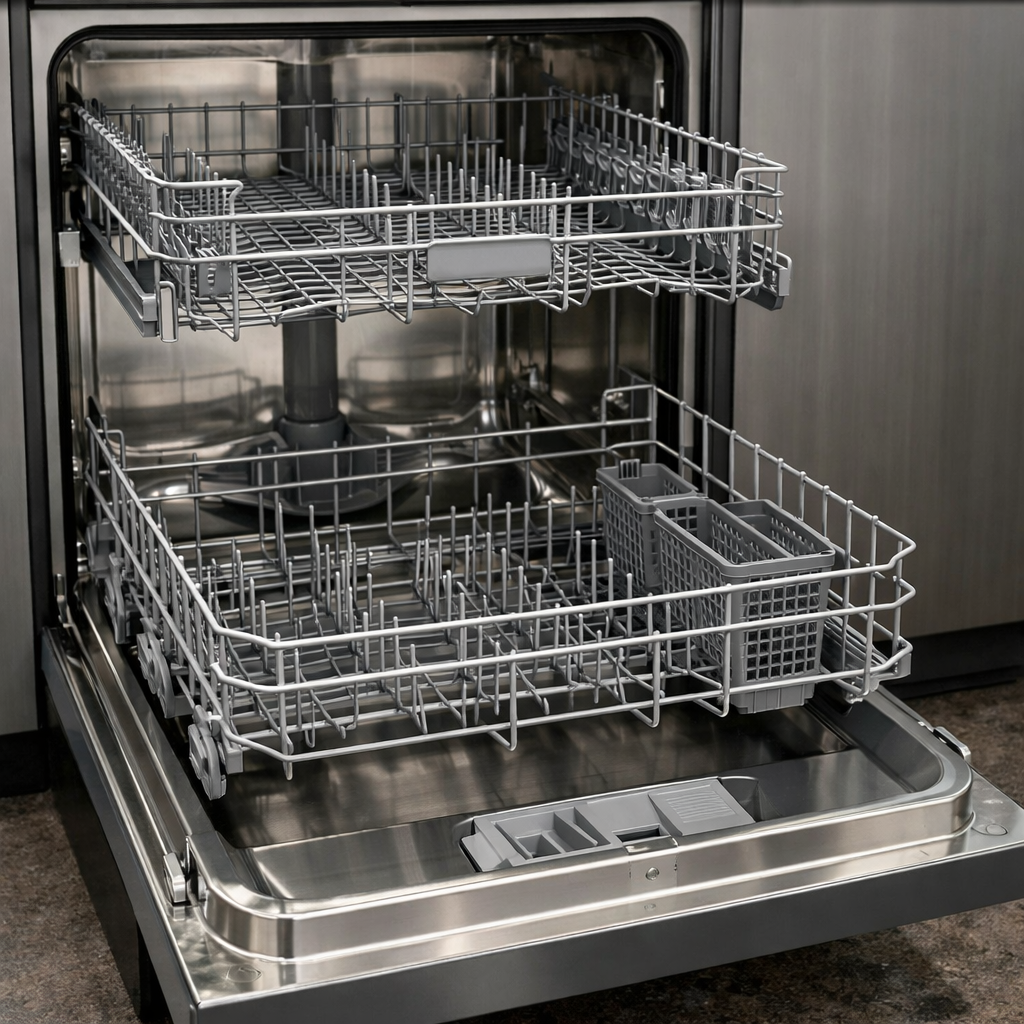
Dispenser not opening
In this step-by-step repair guide, I’ll walk you through fixing a dispenser not opening issue on your Samsung DW80R9950UG. With the right tools and parts, you can often complete this repair in 1-2 hours, saving you from a costly service call.
🔨 Pro Tip from Dave
Before you rush to replace the entire dispenser assembly on the DW80R9950UG, check the wax motor actuator (part DD81-01370A) first. It’s typically a much cheaper fix than swapping the whole unit. A common oversight I notice is DIYers forgetting to clean the dispenser door hinge area before installing the new part; detergent buildup can block the door even after a successful repair, so give that channel a good scrub with a toothbrush.
Part of our Top 20 Dishwasher Models & Common Repair Issues Guide. Browse all dishwasher repair guides for related models and issues.
Common Symptoms & Causes
If your Samsung DW80R9950UG dispenser isn’t opening, you might notice one or more of these signs during or after a wash cycle:
- Detergent tablet or powder remains sealed inside the dispenser door after the cycle completes
- The dispenser door stays physically latched and does not pop open during the main wash phase
- Dishes come out visibly dirty or filmy, indicating detergent was never released
- You hear a faint click, but the dispenser flap fails to fully open
These problems are most often caused by a faulty dispenser actuator, a worn or broken bi-metal release mechanism, or a wax motor that no longer generates enough heat to trigger the door latch.
Safety First
- Unplug the dishwasher from the power outlet before starting any repair — never work on a live appliance.
- Shut off the water supply valve before disconnecting any water lines or hoses.
- Wear work gloves when handling metal brackets, sheet metal edges, or sharp components.
- Take photos with your phone before disconnecting any wiring harnesses or connectors.
- Work in a well-lit area with enough floor space to lay removed panels flat.
Tools & Parts Needed
Essential Tools
- Phillips #2 screwdriver
- Torx T20 screwdriver
- Needle-nose pliers
- Multimeter
- Flashlight
Replacement Parts
- Detergent dispenser assembly
- wax motor
- spring kit
- T20 Torx driver
Step-by-Step Repair Instructions
Step 1
Always disconnect power to the dishwasher before opening the door — working on an energized dispenser poses a shock risk. With the door open, press the dispenser lid closed and check whether the dispenser door springs open freely when you push it from the outside. You’re verifying that the door itself isn’t mechanically stuck. If it won’t pop open with light finger pressure, the return spring may be broken, or the bi-wax motor could be seized, physically blocking the door.
Step 2
The wax motor opens the dispenser door by expanding when heated during the wash cycle. If it no longer responds to heat, the dispenser stays shut. Unscrew the dispenser housing from the inner door panel using a T20 Torx driver on all four screws. Then, apply a hairdryer to the wax motor for about 30 seconds. If the dispenser door opens under direct heat but fails to open during a wash cycle, the motor is thermally responsive but miscalibrated or too weak for cycle temperature — it’s time for a replacement.
Step 3
With the dispenser housing removed, test the wax motor directly using a multimeter set to resistance; a healthy motor reads approximately 300-500 ohms. If you get a reading of OL or open-circuit, it means the motor’s internal heating element has failed, and it will never trigger the door to open regardless of water temperature. Replace the motor if it falls outside this range or reads open.
Step 4
Check the small spring clip that pulls the dispenser door back to its open position after the wax motor actuates. This is a separate failure point from the motor. If the spring is broken, stretched, or unhooked, the door cannot swing open, even if the motor is functioning correctly. If the spring is damaged or has popped off its anchor, replace or reseat it before concluding the motor is at fault.
Step 5
If both the wax motor and the spring are confirmed failed, purchasing the full dispenser assembly for $25-40 is typically more cost-effective than sourcing and fitting both individual parts separately. Pro tip: even if only one part is failed, inspect the other carefully at this point — a motor that survived a broken spring may be close to the end of its life. Snap the new assembly into place, reinstall the four T20 Torx screws, and reconnect any wiring harness before closing the door panel.
Step 6
Restore power and run a Normal wash cycle, staying nearby to observe. The dispenser door should open approximately 10-15 minutes into the cycle during the main wash phase — you’ll hear a faint click as it releases. If the door still doesn’t open, recheck the wiring harness connection at the motor and confirm the control board is sending power to the dispenser circuit at the correct cycle point.
Where to Buy Replacement Parts
- Samsung DW80R9950UG detergent dispenser assembly DD82-01298A replacement
- Samsung dishwasher dispenser wax motor replacement
- Samsung dishwasher detergent door spring repair
When to Call a Professional
If the issue persists after following all the steps above, the problem may involve a failed main control board, a seized circulation or drain pump, or wiring that requires specialized diagnostic equipment. At that point, it’s best to contact a licensed appliance technician — and remember to shut off the water supply valve before any work that opens the fill or drain circuit.
How Much Does This Repair Cost?
| Repair route | Typical cost |
|---|---|
| Do it yourself | $20–$60 (parts) |
| Professional repair | $150–$300 (parts and labor) |
DIY replacement parts for a faulty dispenser on the Samsung DW80R9950UG typically cost between $20 and $60. A professional service call for the same repair usually runs $150–$300 once you factor in labor and fees. Taking on this repair yourself can save you $100 or more.
Frequently Asked Questions
Why is the detergent dispenser on my Samsung DW80R9950UG not opening during the wash cycle?
The most common causes are a faulty dispenser latch, detergent buildup blocking the door, or a failed wax motor that triggers the opening mechanism. Cleaning the dispenser compartment and testing the latch for obstructions is a good first step.
Can I run my dishwasher if the dispenser is broken?
You can place a detergent pod directly in the bottom of the tub as a temporary workaround, but the dishes may not clean as effectively. Repairing the dispenser promptly ensures proper detergent release and optimal wash performance.
Is replacing the dispenser on a Samsung DW80R9950UG a job I can do myself?
Yes, replacing the dispenser assembly is a manageable DIY repair that typically requires only a screwdriver and a compatible replacement part. Following a step-by-step guide specific to this model will help you complete the repair safely.
Recommended Products
Here are the parts and tools I recommend for this repair based on compatibility and customer reviews:
- DD66-00089A Actuator Thermal Wax Motor for Samsung/Bosch Dishwasher Replacement Parts 110/240V 50/60Hz
- DD66-00089A Actuator Thermal Wax Motor 120/240V 50/60Hz for Samsung Dishwasher Replacement Parts
- Maigoo DD81-02202A Dishwasher Rinse-Aid soap Dispenser Parts, DD81-02628A Detergent & Rinse Aid Dispenser Replacement for Samsung Dishwasher, DW80M2020US, DW80R2031US, DW80N3030US/UW/UB
- DD59-01001A Detergent & Rinse Aid Dispenser Assembly for Samsung DW80F600UTB/UTS/UTW, DW80F800UWS, DW80J3020UB/US/UW, DW7933LRASR, etc.
The Wax Motor That Actually Controls the Dispenser on This Model
If your dispenser door won’t pop open during the wash cycle, the thermal wax motor inside is almost certainly the culprit—and replacing just this component usually saves you from buying an entire dispenser assembly. This is the part that actually receives the signal and creates the mechanical push to release the door.
What works
- Costs a fraction of a full dispenser assembly, which is where most people go wrong on this model.
- Installs directly into your existing dispenser housing in about 15 minutes—no need to remove the entire door panel or drain the unit.
- The wax motor is the wear item on this assembly; replacing it brings back a dispenser that otherwise works mechanically fine.
What doesn’t
- If your dispenser housing is cracked or the springs are broken, you’ll still need the full assembly—this motor won’t fix structural damage.
- Installation requires removing the dispenser cover and carefully disconnecting the old motor; if springs pop out during removal, reassembly can get frustrating fast.
I’ve seen too many people order a complete dispenser assembly when the motor swap would have solved it in one go—springs flying everywhere during that first disassembly taught me to go slow and have tweezers ready. Grab the wax motor first, and if the housing itself is damaged, you can always order the full assembly afterward.
About This Article

Written by Dave Holt. Dave Holt has been taking apart and fixing household appliances since he was a teenager who couldn't leave a broken one alone. Eighteen years later, after fixing things for neighbors, friends, and anyone who'd let him, he's seen almost every failure mode there is. When he writes a repair guide here, it's based on the actual job, not a manufacturer overview. More about this site.
Scope and limits. Dave is a self-taught repairer, not a certified appliance technician. Unplug before you open anything, and leave sealed refrigeration systems, gas connections, and hardwired circuits to a qualified technician.



