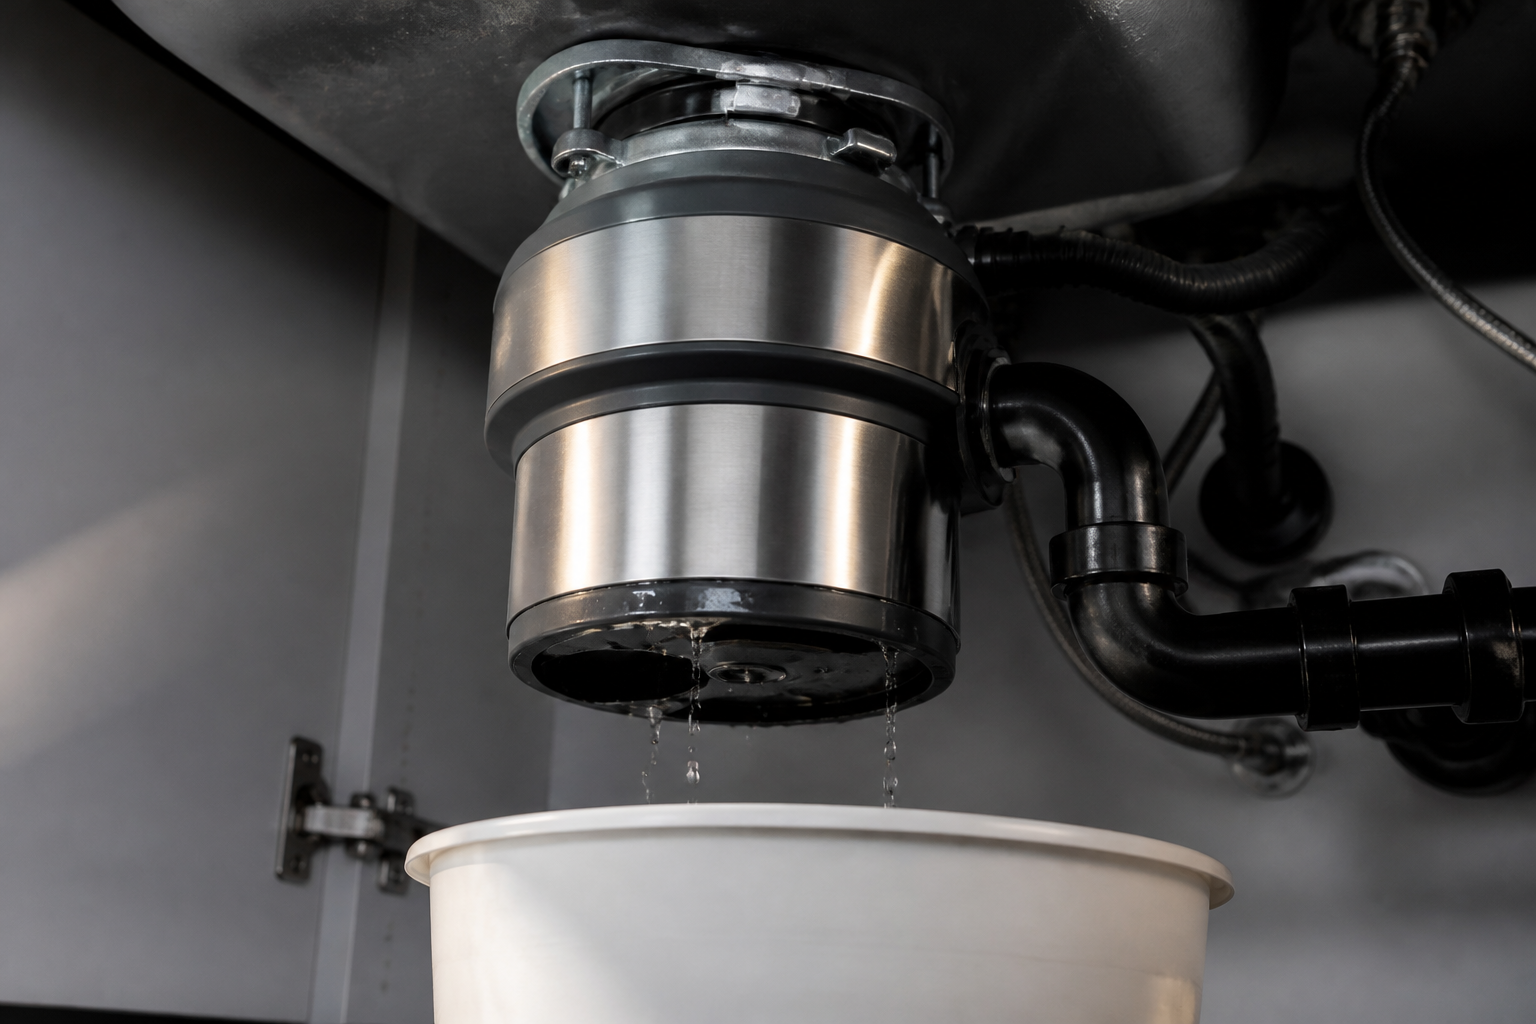
A garbage disposal leaking under the sink is one of those problems that looks worse than it often is—water pooling beneath the cabinet feels like a major failure. Most of the time, the disposal itself is fine. The leak is coming from one of five connection points, and each one has a different fix. Some you can handle in ten minutes. Others mean replacing a component or the unit itself.
The key is finding where the water is actually coming from, because the source determines whether you’re tightening a collar, replacing a rubber seal, or calling a licensed plumber to handle a drain line or mounting issue.
The Five Leak Points on a Garbage Disposal
Water can escape from:
- The sink flange seal (where the disposal connects to the sink drain)
- The discharge outlet (where the drain line connects to the disposal)
- The disposal body itself (a crack or corrosion hole)
- The drain line (the pipe running from disposal to wall or trap)
- The clean-out plug (the removable cap on the side or bottom)
Each requires a different diagnosis and repair method.
How to Locate the Leak
Before you can fix it, you need to see where the water is actually coming from.
Prepare the area:
- Place a bucket or towels under the disposal and drain area.
- Have a flashlight ready.
- Turn off the disposal and make sure it’s been off for at least a few minutes.
Run water and watch:
- Fill the sink with a few inches of water, then slowly drain it while watching under the cabinet with the flashlight.
- If water sprays or drips immediately, the leak is likely at the top connection (sink flange).
- If water pools around the lower body or the side, the leak is lower on the unit or at the discharge outlet.
- If water only appears after draining, and it’s coming from a specific pipe, that’s your drain line.
Dry everything with a towel first so you can see fresh water flow clearly.
Leak Source 1: Sink Flange Seal (Top Connection)
The sink flange is the ring that sits between the sink drain and the garbage disposal. It’s held in place by a mounting ring and sealed with a rubber gasket.
What causes the leak:
- The rubber gasket has worn out or shifted.
- The mounting bolts have loosened over time.
- Corrosion or mineral buildup has damaged the seal.
How to fix it:
If the leak appears at the very top where the sink meets the disposal:
- Turn off power to the disposal at the circuit breaker.
- Put a bucket under the unit.
- Feel around the bottom of the sink from inside the cabinet. You’ll find three bolts arranged in a triangle, holding the mounting ring to the flange.
- Using an adjustable wrench or socket, tighten each bolt a quarter turn. Don’t over-tighten—you want snug, not crushing.
- Run water and check for leaks.
If tightening doesn’t stop it, the gasket needs replacing. This requires removing the entire disposal—a job that involves loosening those same bolts, disconnecting the drain line, and lifting the unit out. Replacement gaskets are inexpensive, but the labor-intensive part is the removal and reinstallation. If you’re comfortable with it, proceed; otherwise, a licensed plumber can handle this quickly.
Leak Source 2: Discharge Outlet (Side Connection)
The discharge outlet is where the drain line bolts onto the side of the disposal. It’s sealed with a rubber ring or gasket.
What causes the leak:
- The bolt holding the drain line has loosened.
- The rubber seal has deteriorated.
- The connection was never fully tightened during installation.
How to fix it:
- Locate the bolt on the side of the disposal where the drain pipe connects.
- Using a wrench, tighten the bolt clockwise a quarter to half turn.
- Wipe away any pooled water and run the sink to test.
If tightening doesn’t work, you’ll need to remove the drain line and replace the rubber seal or washer underneath. This is a straightforward job: loosen the bolt, pull the pipe free, remove the old seal, install a new one (usually just a rubber washer), and reattach.
If the outlet itself is cracked or damaged, the disposal will need to be replaced.
Leak Source 3: Cracks in the Disposal Body
A crack or hole in the metal housing of the disposal itself means water escapes directly from the grinding chamber.
What causes it:
- Age and corrosion eating through the metal from the inside.
- Hard object jamming the impeller and creating stress.
- Manufacturing defect (rare).
How to fix it:
There is no repair for this. A cracked disposal body cannot be sealed effectively and will continue to leak. The disposal must be replaced. Temporary patches might slow the leak but won’t solve it.
Leak Source 4: The Drain Line
The drain line carries waste water from the disposal to the main drain or septic system. Leaks here are usually at the connection points rather than in the line itself.
What causes leaks:
- The line has pulled loose from the disposal outlet or wall fitting.
- A connection nut has loosened over time.
- The line itself has developed a crack or hole (less common, but possible with age).
How to fix it:
- Check where the drain line connects to the disposal and to the wall or P-trap. Hand-tighten any visible connection nuts.
- If the line is leaking from a crack, you can try wrapping it tightly with plumber’s tape or a self-fusing silicone repair tape as a temporary fix, but a permanent fix requires replacing that section of the line.
- Depending on your setup, you may be able to unscrew the line at both ends, remove it, and install a new one. If the line is soldered or glued in place, call a licensed plumber.
Leak Source 5: The Clean-Out Plug
Many disposals have a removable plug on the bottom or side that provides access for clearing jams.
What causes leaks:
- The plug has been removed or fallen out.
- The rubber seal on the plug has dried out or cracked.
- The plug was never fully seated.
How to fix it:
- Locate the plug—usually a black or gray plastic button on the underside or side of the unit.
- Ensure it’s fully seated. Push or twist it clockwise until snug.
- If it’s loose or missing, hand-tighten or replace it.
- Check the rubber seal. If it’s cracked, worn, or missing, you can often buy a replacement plug assembly for the specific model.
When to Call a Licensed Plumber
You can handle tightening bolts, replacing gaskets on the discharge outlet, and reseating a clean-out plug yourself.
Call a licensed plumber if:
- The disposal body is cracked or corroded.
- The sink flange gasket needs replacement and you’re not comfortable removing the entire unit.
- The drain line is damaged or soldered in place.
- You’ve tightened connections and the leak persists, and you’re not sure where else to look.
A plumber can diagnose the leak quickly and either repair or replace the disposal and its connections professionally.
Conclusion
A garbage disposal leak under the sink is rarely an emergency, and most of the time it’s a loose connection rather than a failed unit. Start by identifying the exact leak source—top, side, bottom, or drain line—and tighten any loose bolts first. If that doesn’t work, the fix depends on which component is failing: a worn gasket, a cracked body, or a damaged drain line. Many repairs are straightforward enough to do yourself; others are worth handing off to a licensed plumber. Either way, addressing it soon prevents water damage to the cabinet floor and makes the fix easier.
About This Article

Written by Dave Holt. Dave Holt has been taking apart and fixing household appliances since he was a teenager who couldn't leave a broken one alone. Eighteen years later, after fixing things for neighbors, friends, and anyone who'd let him, he's seen almost every failure mode there is. When he writes a repair guide here, it's based on the actual job, not a manufacturer overview. More about this site.
Scope and limits. Dave is a self-taught repairer, not a certified appliance technician. Unplug before you open anything, and leave sealed refrigeration systems, gas connections, and hardwired circuits to a qualified technician.