Last winter, my dryer started taking two full cycles to dry a single load of towels. At first, I blamed the machine. Then I checked the vent hose and nearly gagged. A thick, compressed wad of lint practically fell out at me. That moment pushed me down a rabbit hole of research that eventually led me to this dryer vent cleaning kit LintEater review — and honestly, it changed how I think about home appliance maintenance entirely.
I had no idea how dangerous an uncleaned dryer vent could be. According to the U.S. Fire Administration, failure to clean dryers is the leading cause of home dryer fires. That fact alone made me take this seriously. My vent had not been professionally cleaned in over ten years. Something had to be done, and I wanted to do it myself.
I am not particularly handy. I can swap out a light fixture and snake a slow drain, but that is about where my DIY skills top out. So I needed something that a non-expert could actually use without turning a simple cleaning job into an expensive repair call.
Why I Chose the LintEater Over Other Options
My research started with YouTube videos, then moved to appliance repair forums and Reddit threads. A few names kept coming up, but the Gardus RLE202 LintEater Rotary Dryer Vent Cleaner Kit appeared constantly in positive reviews from people who sounded just like me — frustrated homeowners, not professional technicians.
Several reviewers specifically mentioned that they had tried cheap brush kits from hardware stores first and been disappointed. Those kits either lacked the reach or the rotary action needed to break up compacted lint deep in the duct. The LintEater uses a drill-powered spinning motion, which intuitively made more sense for dislodging stubborn buildup.
Price was also a factor. Professional dryer vent cleaning services in my area run between $80 and $150. The Dryer Vent Duct Cleaning Kit — Gardus RLE202 LintEater Rotary Dryer Vent Cleaner Kit costs a fraction of that. One purchase, and I can clean the vent every year going forward. The math made it a no-brainer.
What sealed the deal was the flexible rod system. My vent run is not a straight shot. It bends twice before exiting through the side of the house. Many competing kits use semi-rigid rods that struggle around curves. The LintEater rods are specifically designed to flex through bends, which felt critical for my particular setup.
First Impressions: Unboxing and Build Quality
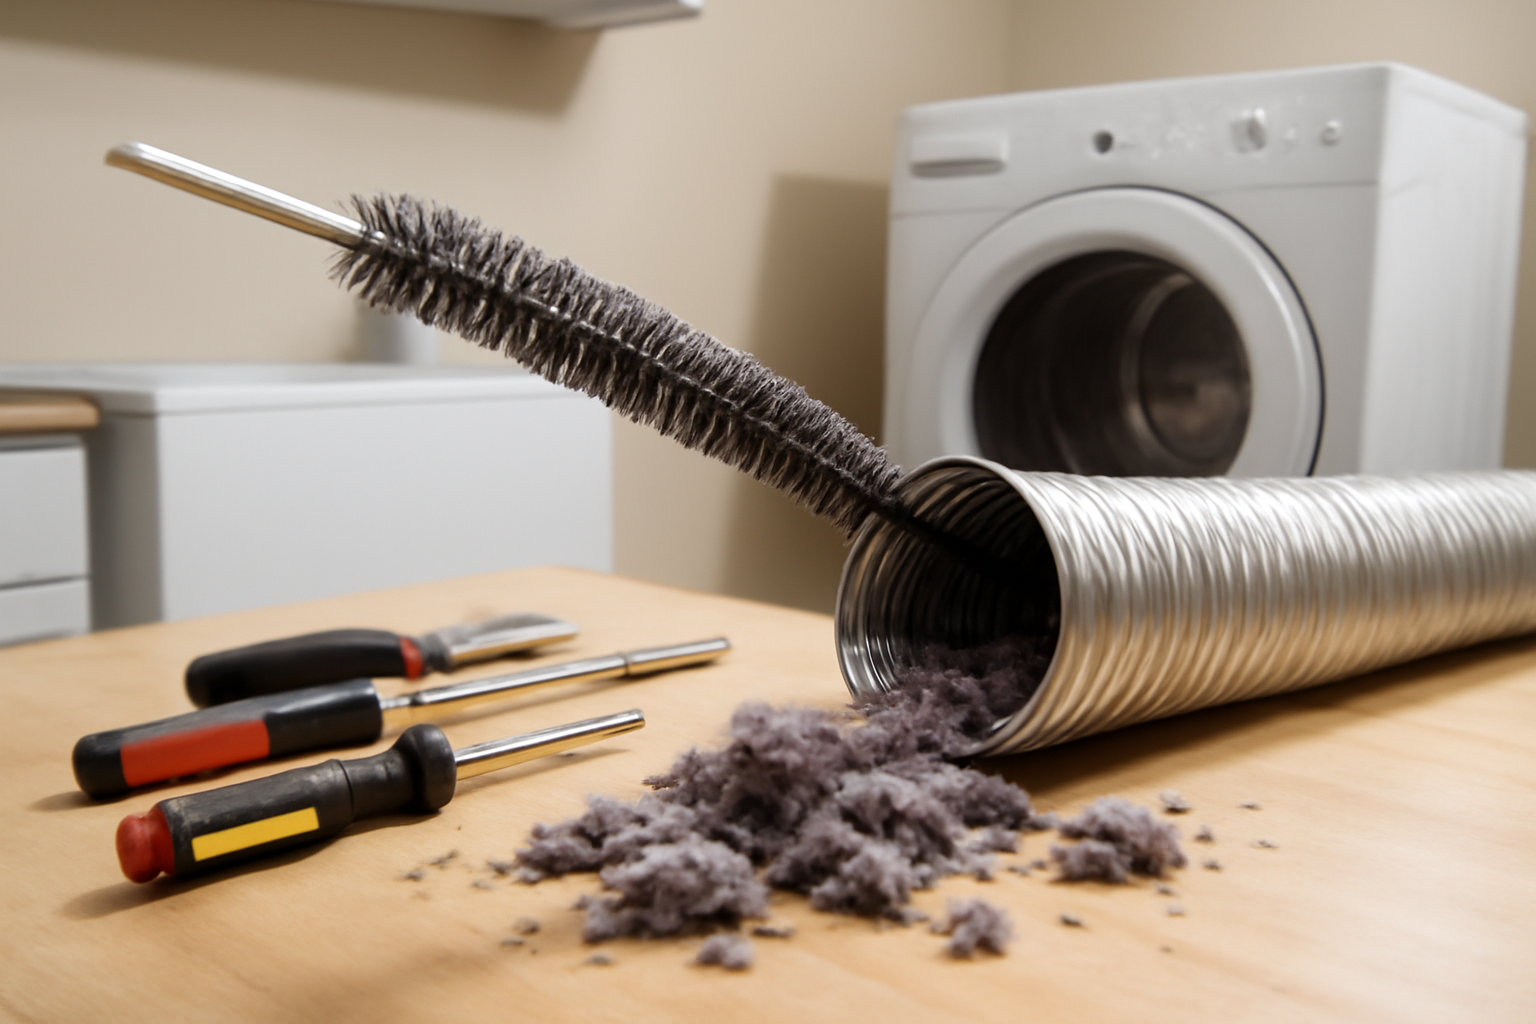
The kit arrived in two days. Opening the box, my first reaction was mild skepticism. Everything felt a bit lightweight — almost plasticky. The four flexible rods connect via threaded ends, and on first inspection, those connectors looked like they might strip easily under torque.
Still, the brush head itself felt well-made. It is firm enough to scrub but flexible enough to navigate curves. The attachment for the drill is straightforward — a standard hex shank that fits any cordless drill. Setup instructions are printed on a single card inside the box, and they are genuinely clear. No confusing diagrams, no missing steps.
The kit includes:
- Four flexible 3-foot rods (extends the system up to 12 feet total)
- One lint brush head
- One drill attachment
- One reversible lint trap brush
- Quick-start instruction card
Honestly, the reversible lint trap brush is a bonus I did not expect. It reaches behind the lint screen housing inside the dryer cabinet, where lint sneaks past the screen and accumulates over time. That alone added real value to the package.
My Testing Protocol: How I Actually Used It
Before I started, I pulled the dryer away from the wall and disconnected the vent hose from both the dryer exhaust port and the wall duct opening. I placed a trash bag over the wall opening as a loose catch. Spoiler: it was not nearly enough.
I threaded the brush head onto the first rod, then inserted it into the wall duct. Running the drill at a low-to-medium speed in the clockwise direction, I slowly pushed the rod deeper while rotating. After about two feet, I felt resistance — real, packed-in resistance. That was ten years of lint meeting a spinning brush for the first time.
Adding rods one at a time, I worked the brush through my entire 9-foot duct run. Each time I added a rod, I paused and reversed the drill briefly to pull some lint back. Then I pushed forward again. The full process took about 25 minutes, which included several passes in both directions.
At one point, I genuinely worried I had made a mistake. The drill stalled slightly as I pushed through a bend, and I thought I might have jammed the brush or snapped a connector. Slowly reversing the drill and pulling back gently cleared the blockage. No damage done — but that moment of doubt was real.
After finishing the duct, I used the reversible lint trap brush inside the dryer cabinet. I was shocked by how much compacted lint hid behind the lint screen housing. This step took another ten minutes but felt incredibly worthwhile.
What Actually Changed: Honest Results
The results were immediately noticeable. Before cleaning, a medium load of laundry took 75 to 80 minutes to dry. After the first cleaning session, that same load finished in 45 minutes. That is a significant improvement, and it held up consistently over the following weeks.
Airflow at the exterior vent cap also improved dramatically. Before, you could barely feel air coming out. After cleaning, the flap opens fully and air exits with obvious force. That tells me the duct was seriously restricted before.
My energy bill for the following month was slightly lower. I cannot attribute that entirely to the dryer — other factors change month to month — but the reduction in drying cycles per week almost certainly contributed.
Here is a quick summary of before-and-after differences I noticed:
- Drying time dropped from ~78 minutes to ~45 minutes per load
- Exterior vent airflow went from barely perceptible to strong
- Dryer exterior surface runs noticeably cooler during operation
- No more musty smell on clothes after drying
That musty smell issue was something I had not even connected to the vent problem. It turns out that restricted airflow traps moisture inside the drum longer than it should. Once airflow improved, clothes came out smelling clean and dry — every single time.
The Downsides: What the LintEater Does Not Do Well
No product review is complete without honest criticism, and this one has a few legitimate drawbacks worth mentioning.
First, the mess. Cleaning a dryer vent is inherently messy work. Even with a trash bag over the wall opening, lint blew back into my laundry room throughout the process. A box fan set up nearby to exhaust lint outside would help. Plan to vacuum the room afterward regardless.
Second, the 12-foot maximum reach is a real limitation. The four rods extend the system to 12 feet total. Many homes have longer duct runs — especially if the dryer sits far from an exterior wall or if the vent travels vertically. My run was 9 feet, so I was fine. But if yours is longer, this kit simply will not reach the full duct.
Third, the rod connectors do require attention. If you run the drill in reverse while rods are connected, there is a small risk of unscrewing a connector inside the duct. Using short reverse pulses rather than sustained reverse rotation avoids this. The instructions mention it briefly, but it deserves more emphasis.
Finally, the included instruction card is basic. It covers the essential steps, but first-time users would benefit from watching a video walkthrough before starting. Several good ones exist on YouTube for this exact product.
This post contains affiliate links. As an Amazon Associate, I earn from qualifying purchases at no extra cost to you.
Final Verdict: My Dryer Vent Cleaning Kit LintEater Review Summary
After using the Dryer Vent Duct Cleaning Kit — Gardus RLE202 LintEater Rotary Dryer Vent Cleaner Kit on a badly neglected vent, I feel comfortable recommending it to most homeowners. The improvement in drying performance was real, measurable, and immediate. The tool itself held up through a demanding first use without any component failure.
Buy this kit if:
- Your dryer vent is 12 feet or shorter
- You want to skip annual service fees and clean it yourself
- Your dryer is taking longer than normal to dry clothes
- You have not cleaned your vent in two or more years
Skip this kit if:
- Your vent run exceeds 12 feet — you will need more reach
- You have a severely crushed or damaged duct — cleaning cannot fix physical damage
- You are not comfortable using a power drill or pulling the dryer away from the wall
For those with longer duct runs, the extended version is the smarter buy. The Gardus RLE24 LintEater Rotary Dryer Vent Cleaning System reaches up to 24 feet, making it suitable for longer or more complex vent paths. If your laundry room sits far from an exterior wall, that version is worth the price difference.
For my situation, the standard RLE202 was exactly what I needed. It paid for itself after one use compared to what a professional cleaning would have cost. More importantly, my dryer is no longer a fire hazard disguised as a laundry appliance. That peace of mind alone is worth every penny.