
Takes too long to dry
This step-by-step repair guide walks you through fixing takes too long to dry on your GE GTD33EASKWW (Electric). With the right tools and parts, most homeowners can complete this repair in 1–2 hours and avoid a costly service call.
🔨 Pro Tip from Dave
On the GTD33EASKWW, the cycling thermostat (part WE4M137) is notorious for failing intermittently, which means your dryer will still produce some heat and fool you into thinking the heating system is fine — don’t skip testing it with a multimeter. A common mistake I see is technicians replacing the heating element first without checking the thermal fuse (WE4M415), which often blows as a symptom of restricted airflow, not age.
Part of our Top 20 Dryer Models & Common Repair Issues Guide. Browse all dryer repair guides for related models and issues.
“`html
Common Symptoms & Causes
If your GE GTD33EASKWW electric dryer is taking too long to dry, you may notice one or more of the following warning signs.
- Clothes are still damp after a full 45–60 minute cycle
- The drum feels warm but produces little to no hot air flow
- Lint is building up faster than normal around the door seal or exhaust vent
- The dryer runs continuously but never triggers the auto-dry shutoff
These issues are most commonly caused by a worn heating element, a faulty cycling thermostat, a clogged exhaust vent, or a failed moisture sensor — all of which degrade with normal wear over time.
“`
Safety First
- Unplug the dryer from the power outlet before starting any repair — never work on a live appliance.
- Wear work gloves when handling metal brackets, sheet metal edges, or sharp components.
- Take photos with your phone before disconnecting any wiring harnesses or connectors.
- Work in a well-lit area with enough floor space to lay removed panels flat.
Tools & Parts Needed
Essential Tools
- Phillips #2 screwdriver
- ¼” nut driver
- Putty knife
- Multimeter
- Work gloves
Replacement Parts
- Vent brush kit
- heating element
- cycling thermostat
- multimeter
Step-by-Step Repair Instructions
Step 1
Clogged or restricted venting is responsible for roughly 80% of slow-drying complaints, so check this before anything else. Disconnect the vent hose at the back of the dryer, run a timed cycle for 5 minutes, and feel whether drying improves dramatically — if it does, the duct run is blocked and not the dryer itself. Always unplug the dryer before disconnecting the vent hose to avoid working around a live appliance.
Step 2
A partial blockage anywhere along the duct run — including the exterior cap — chokes airflow and traps humid air inside the drum, forcing multiple cycles to dry a single load. Use a flexible brush kit to scrub the full length of the duct, clear any lint or debris from the exterior wall cap, and replace any accordion-style plastic duct with rigid or semi-rigid metal duct, which resists crushing and lint buildup far better. Pro tip: keep the total duct run as short and straight as possible, since every elbow adds equivalent resistance of several feet of straight pipe.
Step 3
The lint screen catches most lint, but fine particles fall past it into the housing slot and accumulate into a dense mat that severely restricts airflow beneath the screen. After removing the lint screen, insert a long-handled lint brush into the slot and work it up and down to clear any packed debris before reassembling. Clean the lint screen itself under running water if fabric softener residue is causing it to hold lint — a clogged screen surface alone can reduce airflow by 25% or more.
Step 4
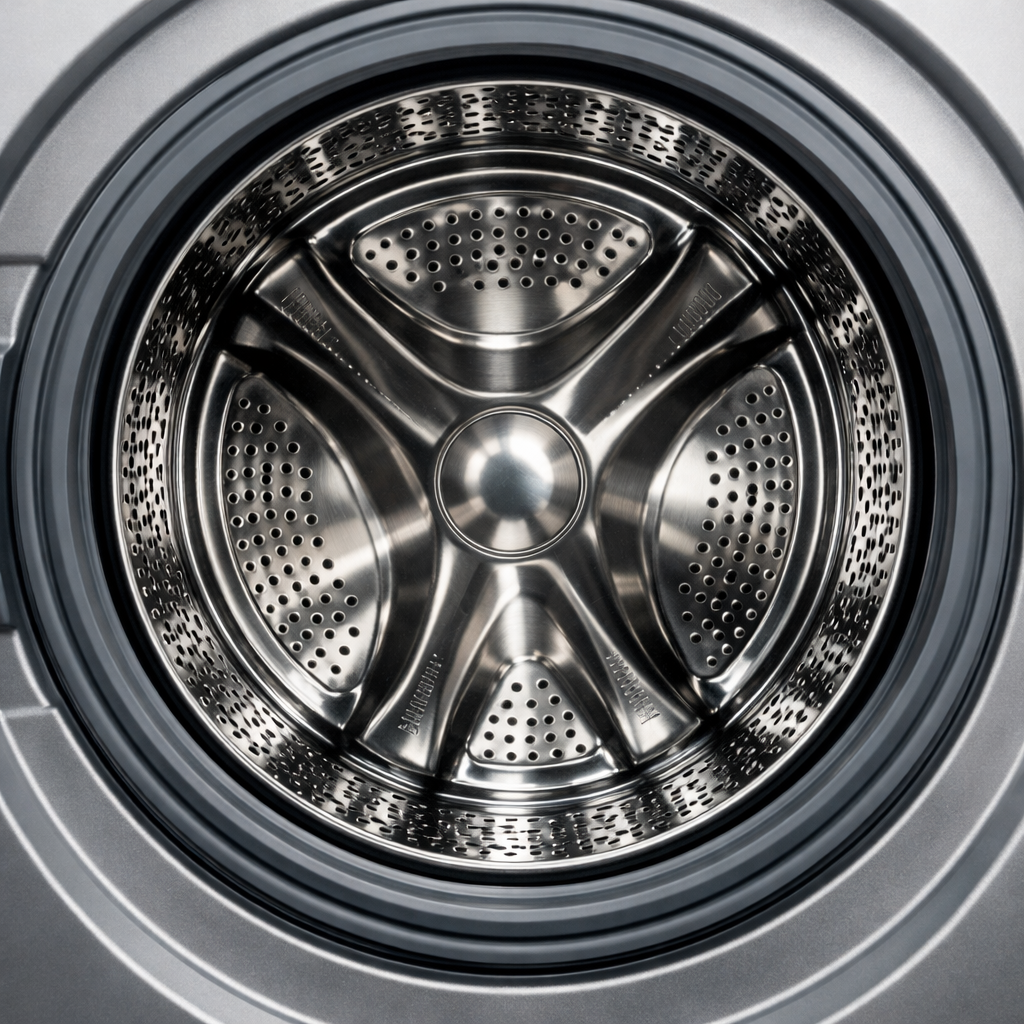
A partially failed heating element — where some coils have burned open but others still glow — produces noticeably reduced heat output, which extends dry time without triggering an obvious ‘no heat’ symptom. Remove the rear access panel (five quarter-inch hex screws) to expose the element, then set your multimeter to Rx1 and probe both terminals; a fully intact element reads low resistance, while any open section reads OL or infinite resistance and the element must be replaced. Unplug the dryer and discharge any residual capacitor charge before touching internal components.
Step 5
The cycling thermostat regulates drum temperature by cycling the heating element on and off, and a failed-open thermostat means the control circuit never confirms the target temperature is reached, so the element runs weakly or inconsistently rather than shutting off cleanly. Test it at room temperature on Rx1 — a good thermostat shows continuity (near-zero ohms); no continuity means it is open and must be replaced. The cycling thermostat is typically located on the exhaust duct inside the cabinet and is inexpensive, so replace it if there is any doubt.
Step 6
Once repairs are complete, run a controlled timed dry cycle — 45 minutes on high heat with a medium-sized load of similar-weight items — to confirm the fix. Clothes should be fully dry with no damp spots by the time the cycle ends; if they are not, re-examine the vent run for any remaining restriction before suspecting further component failure. Pro tip: weigh the load before and after as a quick moisture check — a properly functioning dryer on a medium cotton load typically removes the majority of retained water within 35–45 minutes.
Where to Buy Replacement Parts
Find genuine OEM and aftermarket replacement parts for your GE GTD33EASKWW (Electric) on Amazon:
- GE GTD33EASKWW heating element WE11X10007
- dryer vent cleaning brush kit flexible 12ft
- GE electric dryer cycling thermostat WE4M167
When to Call a Professional
If the issue persists after completing all steps above, the problem may involve the sealed refrigerant system, a failed main control board, or wiring that requires specialized diagnostic equipment. Contact a licensed appliance technician — attempting sealed-system repairs without EPA 608 certification is illegal and unsafe.
“`html
How Much Does This Repair Cost?
DIY parts for this repair typically cost between $10–$80, depending on whether you’re replacing a heating element, thermal fuse, or cycling thermostat. A professional service call for the same fix generally runs $150–$300 including labor. Tackling this repair yourself can save you $100 or more while restoring your dryer’s performance.
“`
Frequently Asked Questions
Why is my GE GTD33EASKWW taking so long to dry clothes?
The most common causes are a clogged lint trap, blocked exhaust vent, or a faulty heating element. Start by cleaning the lint trap and checking the vent hose for obstructions before investigating internal components.
How do I know if the heating element needs to be replaced?
If the dryer runs but produces little or no heat, the heating element is likely burned out. You can confirm this using a multimeter to test for continuity on the element.
Can a partially blocked vent really cause long drying times?
Yes, even a partially blocked exhaust vent significantly reduces airflow, trapping moisture inside the drum. Disconnect and thoroughly clean the entire vent line to restore proper drying performance.
Recommended Products
These are the parts and tools we recommend for this repair, based on compatibility and customer reviews:
- GE WE11M23 Genuine OEM Heating Element Assembly for GE Electric Dryers
- Upgraded Dryer Heating Element Coils Kit WE11X10007 WE11M23 with 6 Ceramics Insulators & 2 Coils – Compatiable with GE Hotpoint Dryer Replaces Part AP2620171 824395 AH265605 EA265605 PS265605
- WE1X21975 Clothes Dryer Ceramic Fuse Replacement for GE Dryer 4248223 30 Amp 250 Volt 3AB (2 Pack)
- WE4M137 Thermostat Thermal Safety Fuse AP2042565 PS267900 WE4M137 for GE Dryer Temperature Rated L315-65F
As an Amazon Associate, I earn from qualifying purchases.


