
OE error — not draining
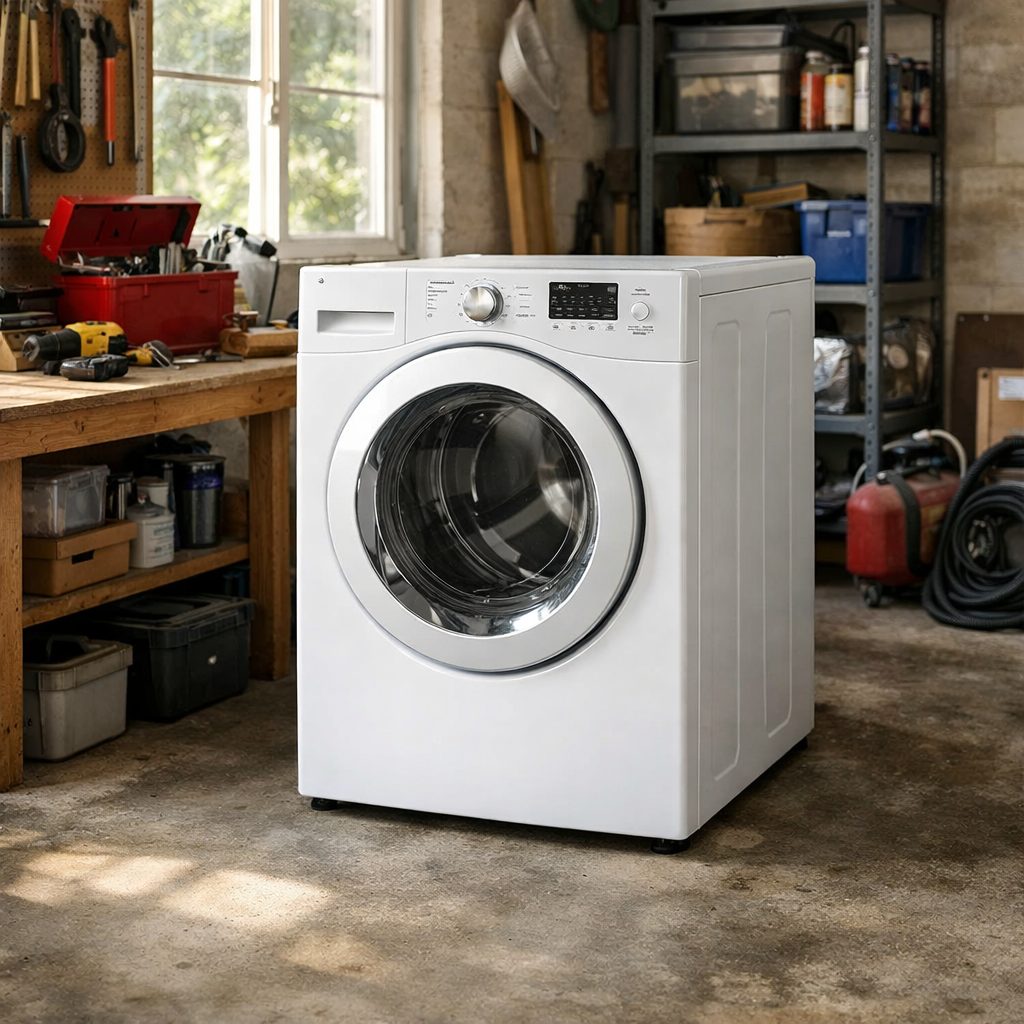
This step-by-step repair guide walks you through fixing oe error — not draining on your LG WT7300CW (Top Load). With the right tools and parts, most homeowners can complete this repair in 1–2 hours and avoid a costly service call.
🔨 Pro Tip from Dave
On the LG WT7300CW, the drain pump (part number 4681EA2001T) has a small debris filter that LG doesn’t make obvious in the owner’s manual — it traps coins, hair ties, and lint that will kill your drain cycle. A common mistake I see is replacing the pump entirely when a 5-minute cleaning of that filter would have solved it. Also check the rotor for debris before condemning the pump, because a stuck impeller mimics a failed motor perfectly.
Part of our Top 20 Washing machine Models & Common Repair Issues Guide. Browse all washing machine repair guides for related models and issues.
“`html
Common Symptoms & Causes
If your LG WT7300CW is struggling to drain, you’ll likely notice one or more of the following signs before or after the OE error appears.
- The display shows the OE error code at the end of a wash or rinse cycle
- Standing water remains in the drum after the cycle finishes
- The washer pauses mid-cycle and stops spinning with water still inside
- You hear the drain pump humming but no water is actually pumping out
These symptoms are most commonly caused by a clogged drain pump filter, a kinked or blocked drain hose, or a failing drain pump motor that can no longer move water out of the tub.
“`
Safety First
- Unplug the washing machine from the power outlet before starting any repair — never work on a live appliance.
- Shut off the water supply valve before disconnecting any water lines or hoses.
- Wear work gloves when handling metal brackets, sheet metal edges, or sharp components.
- Take photos with your phone before disconnecting any wiring harnesses or connectors.
- Work in a well-lit area with enough floor space to lay removed panels flat.
Tools & Parts Needed
Essential Tools
- Phillips #2 screwdriver
- ¼” nut driver
- Torx T20 screwdriver
- Multimeter
- Bucket and towels
Replacement Parts
- Drain pump
- pump filter/coin trap
- drain hose
- Phillips screwdriver
- bucket
Step-by-Step Repair Instructions
Step 1
Unplug the washer before doing anything else to eliminate shock risk while working near water and electrical components. Open the front lower access panel by prying the snap-fit clips with a flat-head screwdriver, then locate the drain filter tube, position a bucket underneath, and slowly twist the drain cap counter-clockwise to release residual water trapped in the sump — skipping this step floods your floor. Pro tip: keep a stack of old towels ready, as even a ’empty’ machine can hold a surprising amount of water.
Step 2
Unscrew the coin trap filter counter-clockwise and inspect it for debris like coins, bobby pins, and lint clumps, because a partially or fully blocked filter is the single most common cause of the OE error on this model. Clean the filter thoroughly under running water and check that the filter housing O-ring is seated correctly before reinstalling hand-tight — cross-threading or a pinched O-ring will cause a slow leak you won’t notice until it’s damaged your floor.
Step 3
To test the drain pump motor, remove the two Phillips screws from the pump bracket and unplug the wiring harness so you can test the terminals safely. Set your multimeter to Rx1 and probe the terminals: a reading of infinity (open circuit) means the motor has failed and must be replaced. While the pump is accessible, manually spin the impeller with your finger — if it’s stiff or won’t turn, a foreign object is jamming it and will burn out even a new motor if not cleared.
Step 4
Check that the drain hose rises to a minimum height of 34 inches before descending into the drain, because a hose routed too low creates a siphoning effect where water is continuously pulled out of the tub, triggering the OE fault even though the pump and filter are perfectly fine. Use a zip tie or the included hose guide to secure the hose at the correct height on the standpipe or wall — this is a frequently overlooked installation error that causes repeat OE codes.
Step 5
Confirm the drain hose is inserted no more than 4.5 inches into the standpipe, because over-insertion seals the hose against the pipe wall and prevents air from venting, which chokes the drain and triggers OE on every single cycle regardless of pump condition. Pull the hose back to the correct depth and use a hose clamp or zip tie to mark and hold that position so it can’t creep deeper over time.
Step 6
Reinstall the coin trap filter hand-tight — overtightening can crack the housing, but under-tightening allows air ingestion that disrupts the pump. Restore power, then run the Drain and Spin cycle and watch the drum: water should clear completely within 90 seconds, confirming the OE fault is resolved. If draining is slow or the code returns, recheck hose height and insertion depth before assuming the pump needs replacement.
Where to Buy Replacement Parts
Find genuine OEM and aftermarket replacement parts for your LG WT7300CW (Top Load) on Amazon:
- LG WT7300CW drain pump 4681EA2001T replacement
- LG top load washer coin trap filter cleaning
- LG washer drain hose installation standpipe height
When to Call a Professional
If the issue persists after completing all steps above, the problem may involve the sealed refrigerant system, a failed main control board, or wiring that requires specialized diagnostic equipment. Contact a licensed appliance technician — attempting sealed-system repairs without EPA 608 certification is illegal and unsafe.
“`html
How Much Does This Repair Cost?
DIY parts for this repair — such as a replacement drain pump or lid switch — typically cost $15–$75. A professional service call for the same OE draining issue on your LG WT7300CW usually runs $150–$300 including labor. Tackling this yourself can save you $100 or more.
“`
Frequently Asked Questions
How do I reset the OE error on my LG WT7300CW?
Press the Power button to turn the washer off, wait 10 seconds, then turn it back on and restart the cycle. If the OE error returns, the underlying drain issue needs to be diagnosed and fixed before resetting will help.
Where is the drain filter located on the LG WT7300CW?
The LG WT7300CW is a top load washer that does not have an accessible front filter like front loaders do. Focus your inspection on the drain hose and pump for clogs or kinks.
Can a kinked drain hose cause the OE error?
Yes, a kinked or improperly positioned drain hose is one of the most common causes of the OE error. Check that the hose is not bent sharply and that it is inserted no more than 4.5 inches into the standpipe.
Recommended Products
These are the parts and tools we recommend for this repair, based on compatibility and customer reviews:
- 2 Pack Lint Filter for LG Top Load Washer, ADQ72912303 NEA61973201 Replacement, Debris Trap Screen for WT-H650 WT-H750 WT-H550, Blue ABS Laundry Pump
- FABULETTA 2PCS Lint Filter for LG Top Load Washer ADQ72912303 NEA61973201 WT-H650 WT-H750 WTS6520 Laundry Pump Protector Mesh Screen Part
As an Amazon Associate, I earn from qualifying purchases.


