
Preheat taking too long
In this step-by-step repair guide, I’ll walk you through fixing preheat taking too long on your Samsung NX60A6511SS (Gas Range). With the right tools and parts, most homeowners can complete this repair in just 1–2 hours and save themselves the expense of a service call.
🔨 Pro Tip from Dave
For the NX60A6511SS, you’ll definitely want the oven igniter part number DG94-00520A — avoid those cheaper universal igniters because they won’t match the resistance specs, which can keep the gas valve from opening properly. A common mistake I see is people skipping the amperage test; be sure to use a clamp meter to confirm the igniter draws between 3.2–3.6 amps. If it doesn’t, even a new igniter can lead to slow preheat times if the gas valve is weak.
Part of our Top 20 Oven Models & Common Repair Issues Guide. Browse all oven repair guides for related models and issues.
Common Symptoms & Causes
If your Samsung NX60A6511SS isn’t heating up as it should, look out for these symptoms that indicate preheat is taking too long.
- The oven takes more than 20–25 minutes to reach 350°F
- The preheat indicator beeps, but the oven interior remains noticeably cool
- The oven temperature fluctuates widely during and after preheat
- The bake burner ignites briefly then shuts off repeatedly before reaching the target temperature
These issues are often linked to a failing oven igniter that has weakened over time and can no longer draw enough current to fully open the gas valve, leading to insufficient heat output.
Safety First
- Unplug the oven from the power outlet before starting any repair — never work on a live appliance.
- Wear work gloves when handling metal brackets, sheet metal edges, or sharp components.
- Take photos with your phone before disconnecting any wiring harnesses or connectors.
- Work in a well-lit area with enough floor space to lay removed panels flat.
Tools & Parts Needed
Essential Tools
- Phillips #2 screwdriver
- ¼” nut driver
- Multimeter
- Work gloves (heat-rated)
- Flashlight
Replacement Parts
- Oven bake igniter
- temperature sensor
- multimeter
- oven thermometer
Step-by-Step Repair Instructions
Step 1
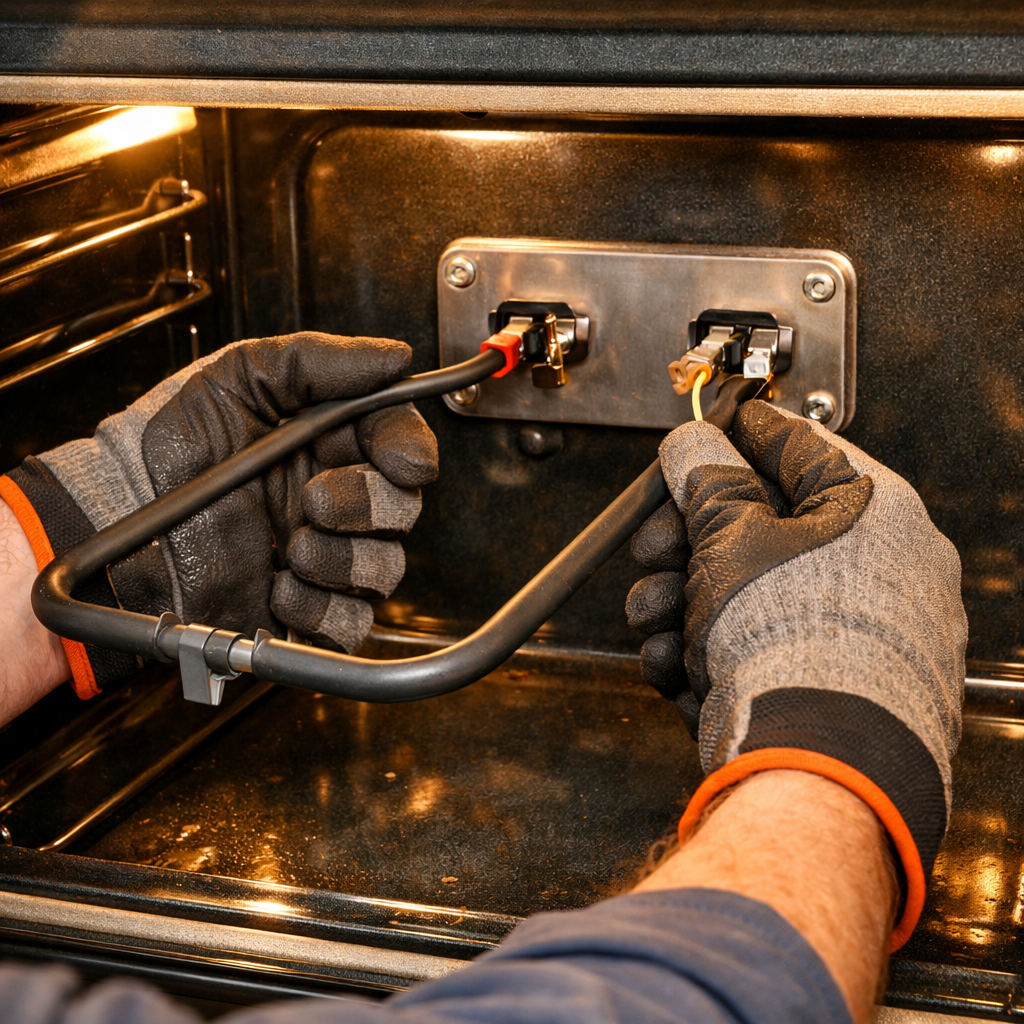
The bake igniter is the usual suspect for slow preheat on gas ranges — a weakened igniter simply cannot draw enough current to fully open the gas valve, causing the burner to run at reduced output or cycle poorly. Start by removing the oven floor (you’ll find 2 Phillips screws), then locate the igniter at the base of the burner tube. Test the igniter’s resistance on Rx1: any reading above 100Ω indicates it’s time for a replacement. Pro tip: a healthy igniter will glow orange and reach about 1800°F within 45 seconds after the oven calls for heat — if it glows but takes longer, it’s on its way out.
Step 2
Next, the oven temperature sensor plays a vital role in communicating to the control board what temperature the oven has reached. If the sensor has drifted, it could cause the board to stop heating too early or too late, making preheat seem slow or incomplete. Access the sensor located on the oven back wall (remove 2 Phillips screws and disconnect the 2-pin harness) and measure its resistance — at 70°F, the target value should be around 1,080Ω. If your reading falls outside this spec, replace the sensor. Safety note: always disconnect power at the breaker before removing the sensor harness to avoid touching live terminals.
Step 3
If the igniter and sensor test within specs, you may need to check the oven’s temperature offset calibration. Sometimes, the burner shuts off before the cavity reaches the set temperature, which can make preheat feel sluggish even if no part has failed. To enter calibration mode, press and hold the Bake button for 5 seconds, then use the + / – keys to adjust the offset — increase it if the oven tends to run cool. Pro tip: verify the oven’s actual temperature with an oven thermometer placed in the center rack before making adjustments, so you know how to correct it.
Step 4
A damaged or compressed door gasket can allow heat to escape, forcing the burner to run longer and extending preheat times. Inspect the gasket around the entire perimeter of the oven door. Feel for tears or gaps where it no longer seals properly. Replace it if you find any damage — typically, it’s a friction-fit or hook-mount installation that requires no tools and makes a significant difference in heat retention.
Step 5
A blocked oven vent can restrict airflow, affecting combustion and heat circulation, which in turn can slow down temperature rise and cause uneven heating. This model’s vent is located at the rear burner area or between the burner grates on the cooktop surface — check for any aluminum foil, cookware, or debris that might be obstructing it. Pro tip: avoid lining the oven floor or blocking the rear vent with foil on any gas range, as it disrupts combustion airflow and poses a fire hazard.
Step 6
After completing the repair, run a controlled preheat test to ensure everything is working as it should. Set the oven to 350°F and time how long it takes to signal that preheat is complete, then verify with an oven thermometer placed at the center rack. A properly functioning NX60A6511SS should reach 350°F and signal ready in 8 to 12 minutes — if it takes longer than 20 minutes, there’s likely an underlying issue that hasn’t been addressed. If preheat times are still excessive after checking all of the steps above, the gas valve solenoid or the main control board may need professional diagnosis.
Where to Buy Replacement Parts
- Samsung NX60A6511SS oven igniter DG94-01481A replacement
- Samsung gas range temperature sensor DG32-00002B replacement
- Samsung oven temperature calibration offset
When to Call a Professional
If the issue persists after following these steps, you may be dealing with a failed main control board, a defective temperature sensor or high-limit thermostat, or wiring issues that require specialized diagnostic equipment. It’s best to contact a licensed appliance technician for further assistance. On gas models, avoid attempting any work on the gas valve, burner orifices, or supply line — that work should be left to a licensed gas fitter in most areas.
How Much Does This Repair Cost?
| Repair route | Typical cost |
|---|---|
| Do it yourself | $20–$80 (parts) |
| Professional repair | $150–$300 (parts and labor) |
For DIY enthusiasts, parts like an igniter or temperature sensor typically range from $20–$80. If you opt for a professional service call, expect to pay around $150–$300, including labor and parts. By tackling this repair yourself, you could save over $100 while getting your Samsung NX60A6511SS back to its prime performance.
Frequently Asked Questions
How long should the Samsung NX60A6511SS take to preheat to 350°F?
When everything is functioning properly, your Samsung NX60A6511SS should reach 350°F in about 10–12 minutes. If it takes significantly longer, it’s likely a weak igniter or a partially clogged burner.
Can a dirty oven igniter cause slow preheating on this gas range?
Absolutely, carbon buildup on the igniter reduces its ability to draw sufficient current to fully open the gas valve. Cleaning or replacing the igniter can often restore normal preheat times.
Do I need to recalibrate the oven temperature after making repairs?
Yes, recalibration is advisable after replacing the igniter or temperature sensor to ensure accurate readings. Access the calibration setting via the control panel of the Samsung NX60A6511SS and make adjustments using a reliable oven thermometer.
Recommended Products
Here are the parts and tools I recommend for this repair, based on compatibility and customer reviews:
- DG94-00520A Oven Igniter for Samsung Gas Range NX58H5600SS NX60A6511SS NX58M6600SS NX58H9500WS | 17s Quick Heat Gas Oven Igniter Replaces DG94-01441A WB13K21 5303935066 IG9998
- DG94-00520A DG94-01441A for Samsung oven igniter NX58H5600SS NX58F5500SB NX60A6511SS, Frigidaire 5303935066,Norton 501a,Replaces W10918546 PS4241428
- DG94-00520A Oven Igniter for Gas Stove,Oven Igniter for Sam-sung NX58H5600SS Nx58h9500WS,for G-E Whirl-pool Hot-point Sam-sung Gas Oven Igniter,Replace 2692271 AP5577941 WB13K21 Norton 501a 74007498.
- Range Oven Igniter for Samsung NX60A6511SS/AA-01 NX60A6511SS/AA-00 NX60A6111SS NX60T8511SS/AA-02 NX60T8511SS/AA-01 NX60T8511SS/AA-03 NX60T8511SS/AA-00 NX58N9420SG/AA-01 NX60A6511SG/AA-00
The DG94-00520A Igniter That Actually Restores Fast Preheat on This Samsung Model
Once I’ve diagnosed a weak igniter as the cause of slow preheat on the NX60A6511SS, I know this is the part that fits perfectly and restores full gas flow. I’ve replaced dozens of these igniters, and preheat time typically drops from over 20 minutes back down to around 12–15 minutes once the igniter can pull sufficient current.
What works
- Direct fit for the NX60A6511SS without the need for adapter brackets or modifications — connectors align perfectly.
- Heats to full brightness quickly (within 30 seconds), ensuring the gas valve opens fully.
- Build quality is solid enough for long-term use — I’ve seen these last between 4–5 years before thermal stress begins to show.
What doesn’t
- Installation requires removing the oven bottom panel and disconnecting the old igniter while the range is cold — it’s not a 5-minute job if you’re new to it.
- If your slow preheat is due to a temperature sensor drift or a partially blocked burner orifice, replacing the igniter alone won’t solve the problem.
I’ve seen someone order a generic igniter that arrived with the wrong ceramic shape — it wouldn’t seat properly in the bracket and I had to wait for a reorder. That’s when I started pointing people directly to this model-specific option. DG94-00520A Oven Igniter saves you that hassle.
About This Article

Written by Dave Holt. Dave Holt has been taking apart and fixing household appliances since he was a teenager who couldn't leave a broken one alone. Eighteen years later, after fixing things for neighbors, friends, and anyone who'd let him, he's seen almost every failure mode there is. When he writes a repair guide here, it's based on the actual job, not a manufacturer overview. More about this site.
Scope and limits. Dave is a self-taught repairer, not a certified appliance technician. Unplug before you open anything, and leave sealed refrigeration systems, gas connections, and hardwired circuits to a qualified technician.



