
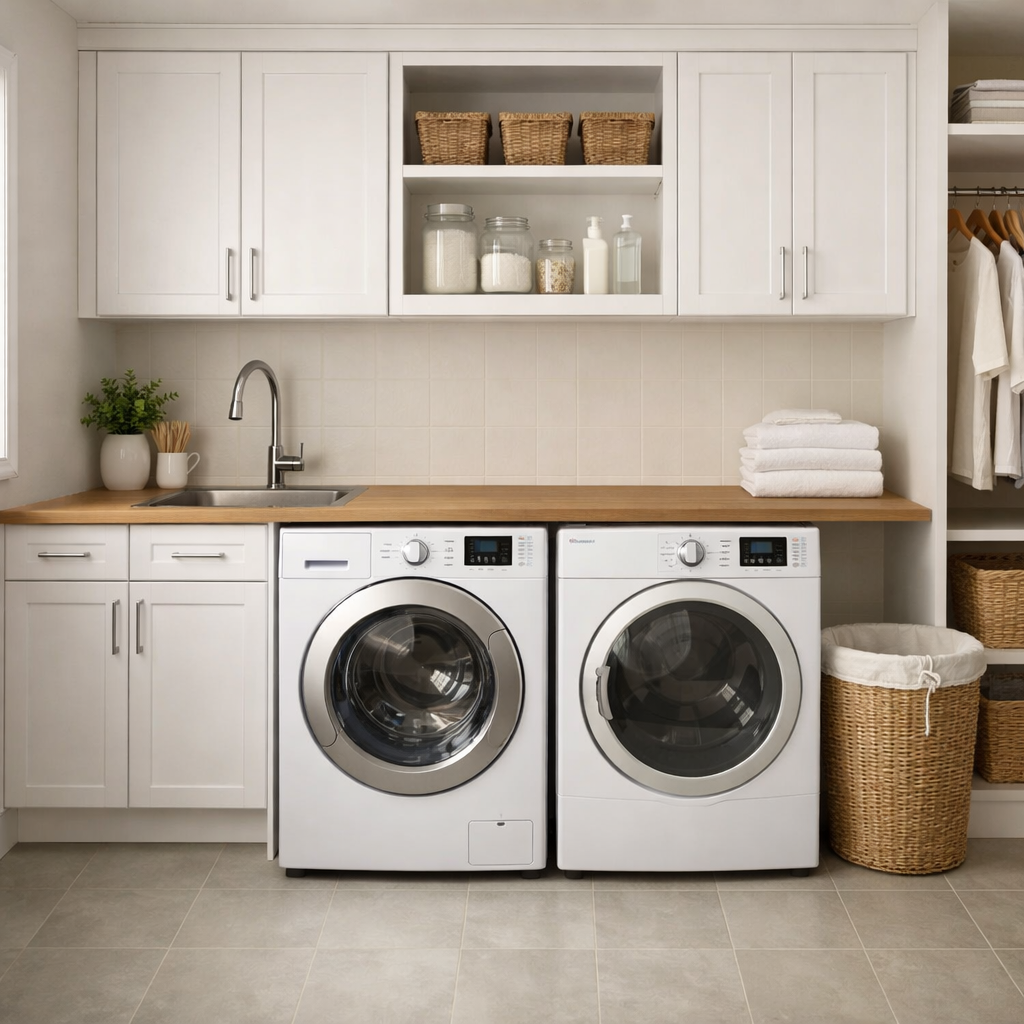
Heating element replacement
This step-by-step repair guide walks you through fixing heating element replacement on your Amana NED4655EW (Electric). With the right tools and parts, most homeowners can complete this repair in 1–2 hours and avoid a costly service call.
🔨 Pro Tip from Dave
On the NED4655EW, the heating element assembly uses part number WP8544771 — and here’s what trips up a lot of DIYers: the two high-limit thermostats mounted directly on the element housing frequently fail alongside the element itself. Always test and replace the thermal cutoff (WP8577274) at the same time, or you risk burning out your brand-new element within weeks.
Part of our Top 20 Dryer Models & Common Repair Issues Guide. Browse all dryer repair guides for related models and issues.
“`html
Common Symptoms & Causes
If your Amana NED4655EW is having trouble heating, these symptoms may point to a failed heating element.
- Dryer runs but produces no heat after a full cycle
- Clothes are still damp or cold after a normal drying cycle
- The dryer drum spins normally but takes multiple cycles to dry a small load
- Visible burn marks or a broken coil on the heating element itself
These issues are most commonly caused by a burned-out heating element coil, which naturally wears out over time due to repeated high-heat cycles and normal metal fatigue.
“`
Safety First
- Unplug the dryer from the power outlet before starting any repair — never work on a live appliance.
- Wear work gloves when handling metal brackets, sheet metal edges, or sharp components.
- Take photos with your phone before disconnecting any wiring harnesses or connectors.
- Work in a well-lit area with enough floor space to lay removed panels flat.
Tools & Parts Needed
Essential Tools
- Phillips #2 screwdriver
- ¼” nut driver
- Putty knife
- Multimeter
- Work gloves
Replacement Parts
- Heating element
- thermal fuse
- high-limit thermostat
- ¼” hex driver
- multimeter
Step-by-Step Repair Instructions
Step 1
Unplug the dryer from the wall outlet before touching anything, then clean the entire vent duct from the dryer to the exterior exhaust cap. On Amana electric dryers, a restricted vent traps heat and blows the thermal fuse — so if you skip this step, a new fuse will fail again just as fast. Use a dryer vent brush kit and confirm strong, unobstructed airflow before proceeding.
Step 2
Remove the rear panel by taking out the five ¼” hex screws, which exposes the heating element coil sitting inside the lower heater box. Set your multimeter to Rx1 and probe both terminals of the element — a good coil reads near zero ohms, while an open reading (OL or infinite resistance) confirms the element is broken and must be replaced. Avoid touching the coil wire with bare hands during inspection, as skin oils can create hot spots that shorten the new element’s life.
Step 3
With the rear panel still off, locate the thermal fuse mounted on the exhaust housing and test it on Rx1 — it should show continuity (near zero ohms), and no continuity means it has blown and is permanently open. A blown thermal fuse is a symptom, not just a part failure, which is why you should always replace it together with the heating element rather than one alone. Never bypass the thermal fuse even temporarily; it is the last line of defense against a dryer fire.
Step 4
Test the high-limit thermostat, also located near the heater box, by probing its terminals on Rx1 at room temperature — a good thermostat reads continuity, while an open reading means it has failed and needs replacement. The high-limit thermostat cuts power to the element if temps spike dangerously, so a failed one can either prevent heating entirely or, if it sticks closed, allow overheating. Replace it if there is any doubt, since the part is inexpensive compared to the damage an overheating dryer can cause.
Step 5
Reconnect all wire terminals firmly to the new heating element, thermal fuse, and any thermostat you replaced, then reattach the rear panel with the five ¼” hex screws. Loose terminals are a common cause of arcing and premature component failure, so tug each connector gently after seating it to confirm it is locked in place. Double-check that no wires are pinched between the panel and the dryer cabinet before driving the screws home.
Step 6
Before plugging the dryer back in, do a final check of the vent path to confirm it is fully clear all the way to the exterior — this is the single most important step to prevent a repeat failure. Plug the dryer in, load a damp towel, and run a Timed Dry cycle; the heating element should activate and you should feel warm air at the exhaust vent within three minutes. If the dryer runs but produces no heat after three minutes, recheck your terminal connections and verify the circuit breaker has not tripped on one leg of the 240V supply.
Where to Buy Replacement Parts
Find genuine OEM and aftermarket replacement parts for your Amana NED4655EW (Electric) on Amazon:
- Amana NED4655EW heating element WP8544771 replacement
- Amana electric dryer thermal fuse WP3392519
- Amana dryer high limit thermostat WP3977767
When to Call a Professional
If the issue persists after completing all steps above, the problem may involve the sealed refrigerant system, a failed main control board, or wiring that requires specialized diagnostic equipment. Contact a licensed appliance technician — attempting sealed-system repairs without EPA 608 certification is illegal and unsafe.
“`html
How Much Does This Repair Cost?
A replacement heating element for the Amana NED4655EW typically costs between $20 and $60 in parts alone. A professional repair service will generally charge $150 to $300 once you factor in labor and the service call fee. Tackling this repair yourself can save you $100 or more, making it a worthwhile DIY project.
“`
Frequently Asked Questions
How do I know if the heating element is the problem on my Amana NED4655EW?
If your dryer runs but produces no heat, a failed heating element is the most likely cause. You can confirm this by testing the element with a multimeter — no continuity means it needs replacement.
Do I need to disassemble the entire dryer to replace the heating element?
On the Amana NED4655EW, the heating element housing is accessed from the rear panel, so full disassembly is not required. Removing the back cover gives you direct access to the element.
What replacement heating element part should I buy for the NED4655EW?
Use OEM part number WP8544771 or a compatible aftermarket equivalent designed for Amana and Whirlpool electric dryers. Always verify compatibility with your model number before purchasing.
Recommended Products
These are the parts and tools we recommend for this repair, based on compatibility and customer reviews:
- 2026 Upgraded 8544771 WP8544771 Dryer Heating Element Kit, Compatible with Whirlpool, Maytag, Kenmore, Amana Dryers, Replaces 8544771R, AP6013115, AP3866035, PS11746337
- Compatible with WP8544771 Dryer Heating Element Replacement 240V 5400W for Amana NED4655EW NED4600YQ NED4650EW NED4800TQ NED5800HW NED5100TQ
- 280148 Thermal Cut-off Kit 3392519 Thermal Fuse 8577274 Thermistor Dryer replacement Kit Fit For whirl-pool Dryers WED7300XW0, WED7400XW0, WED7505FW0, WED7540FW0, WED7540FW1, WED7590FW0, WED7590FW1
- Upgraded 279816 Dryer Thermal Cut-off Kit – Compatible with Whirlpool Kenmore Maytag Amana Dryers – Replaces 3399848 AP3094244 PS334299 3977393 WED6200SW1 NED4600YQ0 NED4600YQ1 NED4655EW1
As an Amazon Associate, I earn from qualifying purchases.


