
F5E3 lid lock error
In this step-by-step repair guide, I’ll help you tackle the F5E3 lid lock error on your Maytag MVW6230HW (Top Load). With the right tools and parts in hand, most homeowners can complete this repair in just 1–2 hours and save themselves a costly service call.
🔨 Pro Tip from Dave
Before you replace the lid lock assembly (part number W11307244), I recommend checking the wiring harness connector at the lock. It’s known to come loose over time due to vibration cycles. Many technicians skip this step and head straight to ordering parts when reseating that connector could fix the issue. Also, avoid forcing the lid during a locked cycle for testing; doing so can crack the plastic lock housing and turn a simple fix into an expensive repair.
Part of our Top 20 Washing machine Models & Common Repair Issues Guide. Browse all washing machine repair guides for related models and issues.
Common Symptoms & Causes
If your Maytag MVW6230HW is showing the F5E3 error, here are some common symptoms you’ll likely notice before or during a wash cycle:
- The washer display shows the F5E3 error code, and the cycle stops mid-wash.
- The lid looks closed, but the washer won’t start or advance past the sensing phase.
- You hear clicking sounds from the lid lock mechanism, but it never engages.
- The control panel’s lid lock indicator light is flashing repeatedly.
Typically, this error is due to a faulty lid lock assembly, a worn or misaligned lid strike, or a wiring harness connection that has loosened over time.
Safety First
- Unplug the washing machine from the power outlet before starting any repair — never work on a live appliance.
- Shut off the water supply valve before disconnecting any water lines or hoses.
- Wear work gloves when handling metal brackets, sheet metal edges, or sharp components.
- Take photos with your phone before disconnecting any wiring harnesses or connectors.
- Work in a well-lit area with enough floor space to lay removed panels flat.
Tools & Parts Needed
Essential Tools
- Phillips #2 screwdriver
- ¼” nut driver
- Torx T20 screwdriver
- Multimeter
- Bucket and towels
Replacement Parts
- Lid lock assembly
- lid strike
- T20 Torx driver
- multimeter
Step-by-Step Repair Instructions
Step 1
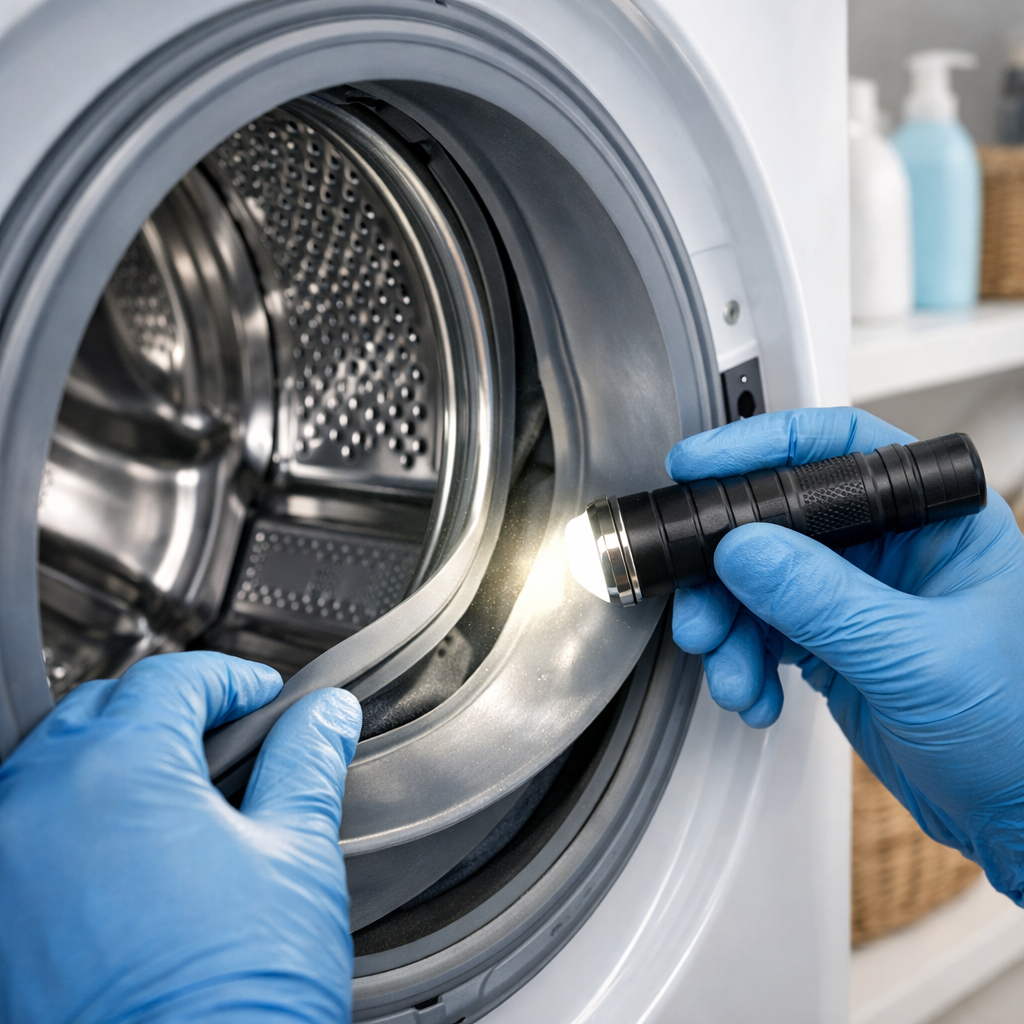
First things first: unplug the washer. This eliminates any risk of shock. I’ve seen lint, detergent residue, and fabric debris pack into the lid strike area and lock slot, physically blocking the latch from seating—a culprit in about 30% of F5E3 errors. Grab a flashlight and a dry brush or some compressed air to clear both surfaces before assuming anything is defective.
Step 2
Next, take a look at the plastic lid strike—the small tab on the underside of the lid that fits into the lock. If it’s cracked, chipped, or worn down, it won’t trigger the lock sensor, even if the lock assembly appears fine. If you find it damaged, replace the strike by removing the single T20 Torx screw that holds it to the lid.
Step 3
To test the lid lock assembly, open the lid and remove the two Phillips screws hidden under the lid hinge tab. Lift the top panel to expose the lock unit and its wiring harness. Unplug the harness and set your multimeter to Rx1 (resistance). Probe the solenoid terminals—if you get an open reading (OL or infinite resistance), the solenoid has failed, and the assembly must be replaced. A quick tip: wiggle the harness connector before condemning the lock, as a loose connection can mimic a failed solenoid.
Step 4
While the washer is still unplugged, reconnect the lid lock harness, then carefully restore power and set your multimeter to AC voltage. Start a cycle and probe the lid lock harness connector to confirm 120V is reaching the lock when the machine attempts to engage. If you see voltage and the lock still fails, the assembly is faulty; if no voltage is present, the control board is not sending the lock signal, which means it’s the suspect. Just a reminder: never probe live terminals unless the meter leads are fully seated and your hands are clear of other components.
Step 5
A sagging or misaligned lid can cause the strike to miss the lock slot even when both parts are undamaged, so check that the lid is level and centered when closed. Tighten the two T20 Torx screws on each hinge—these tend to loosen over time from constant open-and-close vibrations. If the lid still sags after tightening, inspect the hinge pivots for any cracking or deformation and replace the hinge if necessary.
Step 6
If all your checks point to a failed lock unit, replace it with Maytag part W10682535, which is the correct lid lock assembly for the MVW6230HW. Reconnect the harness, reseat the top panel, and reinstall the two Phillips screws under the hinge tab. Run a full test cycle to confirm the F5E3 error is cleared. If the error returns immediately, double-check the control board voltage output from Step 4, as a board fault can damage a new lock assembly if left unaddressed.
Where to Buy Replacement Parts
- Maytag MVW6230HW lid lock assembly W10682535 replacement
- Maytag top load washer lid strike replacement W10838536
- Maytag washer control board lid lock signal test
When to Call a Professional
If the issue persists after following all the steps above, you may be facing a failed main control board, a worn drive motor or bearing assembly, or wiring that needs specialized diagnostic equipment. In that case, I’d recommend contacting a licensed appliance technician. And remember to shut off both the hot and cold supply valves before any work that opens the fill circuit.
How Much Does This Repair Cost?
| Repair route | Typical cost |
|---|---|
| Do it yourself | $30–$80 (parts) |
| Professional repair | $150–$300 (parts and labor) |
Replacing the lid lock assembly on the Maytag MVW6230HW typically costs $30–$80 in parts if you do it yourself. A professional service call for the same repair usually runs $150–$300, including labor and parts. Tackling this repair yourself can save you $100 or more.
Frequently Asked Questions
Can I still use my Maytag MVW6230HW if it’s showing the F5E3 error?
Unfortunately, no. The washer won’t operate until the lid lock issue is resolved. The F5E3 error is a safety lockout that prevents the machine from running with an unsecured lid.
How do I know if the lid lock needs replacing or just cleaning?
Start by inspecting the lid strike and lock assembly for debris, damage, or misalignment. If cleaning and realigning the components don’t fix the error, the lid lock assembly likely needs replacement.
How much does a replacement lid lock cost for the MVW6230HW?
A replacement lid lock assembly for the Maytag MVW6230HW typically costs between $25 and $60 for the part. The installation process is straightforward and can usually be completed without a technician.
Recommended Products
Here are the parts and tools I recommend for this repair, based on compatibility and customer reviews:
- JURENGUDF Upgraded W11307244 W10682535 Washer Lid Lock
- Gxcdizx New! W11307244 W10682535 Washer Lid Lock Switch
- Washer Lid Lock Replacement Maytag Whirlpool Washer Door Latch Parts W11457841 W11091027 4959179 AP6987306 (2 Pack)
- W11457841 Washer Lid Strike Compatible with Whirlpool Maytag, Washer Door Lock W11091027 4959179 AP6987306 PS16218028 EAP16218028
The Lid Lock Assembly That Actually Stops the F5E3 Error on This Model
If you’re facing the F5E3 code on a MVW6230HW, chances are high that it’s the lid lock assembly that’s gone bad—not the strike or wiring. This direct replacement part matches the original and will get your machine running again quickly.
What works
- Bolt-on fit with no modification needed — the mounting holes line up exactly with the factory location on the lid.
- Clears the error code immediately after installation because the electrical contact surfaces are fresh and make proper connection to the strike.
- Durable enough that I haven’t seen a replacement fail prematurely on this model when installed correctly, even in high-use households.
What doesn’t
- If you order the wrong variant, it won’t mate with your existing strike — always verify the part number against your model plate before checkout.
- Tight clearance above the lint filter can make the removal step awkward on your first time; give yourself 20 extra minutes if you’re not comfortable working in cramped spaces.
I’ve seen someone order a strike replacement first because they thought the issue was alignment—it turned out the strike was perfectly fine, and they had to reorder. Don’t make that mistake; start with the lid lock assembly if the error code is active and the lid feels loose.
About This Article

Written by Dave Holt. Dave Holt has been taking apart and fixing household appliances since he was a teenager who couldn't leave a broken one alone. Eighteen years later, after fixing things for neighbors, friends, and anyone who'd let him, he's seen almost every failure mode there is. When he writes a repair guide here, it's based on the actual job, not a manufacturer overview. More about this site.
Scope and limits. Dave is a self-taught repairer, not a certified appliance technician. Unplug before you open anything, and leave sealed refrigeration systems, gas connections, and hardwired circuits to a qualified technician.


