
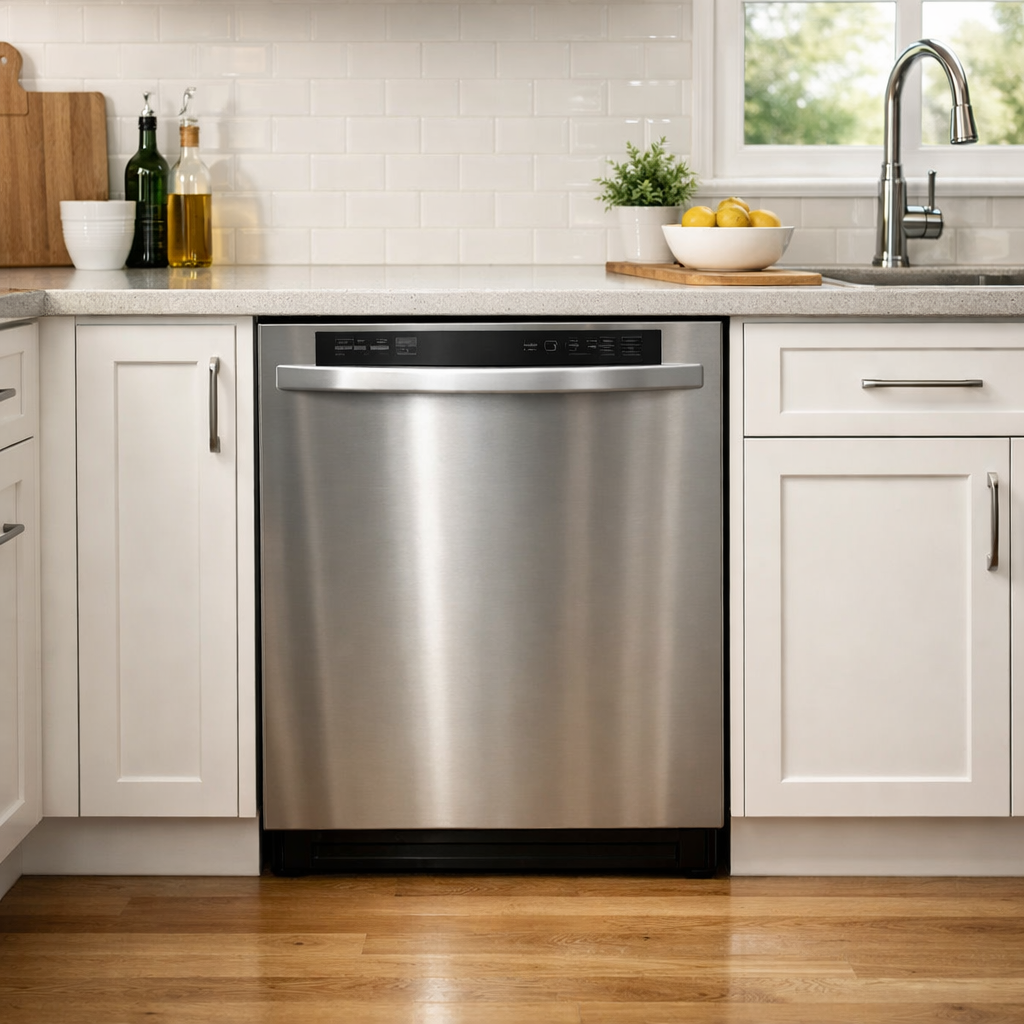
E09 error — heater fault
In this step-by-step guide, I’ll walk you through fixing the E09 error — heater fault on your Bosch SHPM88Z75N. With the right tools and a little bit of patience, most homeowners can complete this repair within 1–2 hours, saving themselves from a costly service call.
🔨 Pro Tip from Dave
Before you replace the heater assembly (part number 00611322), always unplug the unit and check the wiring harness connector at the heater first. Corrosion on those terminals can mimic a dead heater and fool even experienced people. A quick resistance test across the heater terminals should read between 20–30 ohms; anything open or shorted means replacement. However, a corroded connector cleaned with electrical contact spray can save you from an unnecessary part purchase.
Part of our Top 20 Dishwasher Models & Common Repair Issues Guide. Browse all dishwasher repair guides for related models and issues.
Common Symptoms & Causes
Here are the symptoms you might notice when your Bosch SHPM88Z75N is throwing an E09 heater fault.
- The dishwasher display shows the E09 error code mid-cycle or at startup
- Dishes come out cold or with food residue due to water not heating properly
- The wash cycle runs but stops or restarts unexpectedly without completing
- The control panel displays E09 alongside an audible beeping alert
This error is most commonly caused by a failed heating element, a faulty NTC temperature sensor, or a defective control board that can no longer regulate water temperature correctly.
Safety First
- Unplug the dishwasher from the power outlet before starting any repair — never work on a live appliance.
- Shut off the water supply valve before disconnecting any water lines or hoses.
- Wear work gloves when handling metal brackets, sheet metal edges, or sharp components.
- Take photos with your phone before disconnecting any wiring harnesses or connectors.
- Work in a well-lit area with enough floor space to lay removed panels flat.
Tools & Parts Needed
Essential Tools
- Phillips #2 screwdriver
- Torx T20 screwdriver
- Needle-nose pliers
- Multimeter
- Flashlight
Replacement Parts
- Heating element
- NTC thermistor
- multimeter
- T20 Torx driver
Step-by-Step Repair Instructions
Step 1
Disconnect power at the breaker before touching any components — the E09 error indicates a heater fault, and the heating circuit carries line voltage that can cause serious injury. Pull the dishwasher forward about 6 inches by first removing the lower kick plate (2 T20 Torx screws) and loosening the 2 mounting screws securing the unit under the counter. Pro tip: lay a towel on the floor to protect the door finish as you slide the unit out.
Step 2
Tilt the dishwasher gently onto its back to expose the bottom sump area — this is the only practical way to reach the heating element and thermistor without specialized tools. You are looking for the circular stainless steel heating element that runs around the base of the sump; this component heats the water during the wash and dry cycles, and a failure here is the most common cause of E09. Take care not to crack any plastic sump fittings as you lay the unit down, and support the door so it does not swing open under its own weight.
Step 3
Set your multimeter to Rx1 and probe the two spade terminals on the heating element — you are measuring resistance to determine whether the element’s internal coil is intact. A healthy element reads between 15 and 30 ohms; an open circuit (OL or infinite resistance) confirms the coil has burned out, meaning you need a replacement. If resistance is within range, the element itself is not the fault, and you should continue to the thermistor test before ordering parts.
Step 4
Next, test the NTC thermistor — the small probe-style sensor clipped to the sump near the element — by probing its two terminals with the multimeter. This thermistor tells the control board the water temperature, and if it reports an incorrect value, the board can trigger E09 even when the element is working fine; at room temperature, a good thermistor reads approximately 50kΩ. Replace the thermistor if you read an open circuit or a value wildly outside that range, as there’s no way to recalibrate it.
Step 5
To replace the heating element, unplug both spade terminals, then rotate the element’s locking tabs counter-clockwise a quarter turn to release it from the sump seal, and lift the element straight out. Installation is the exact reverse — seat the element, rotate tabs clockwise a quarter turn until they stop, and firmly reseat both spade connectors to avoid an intermittent connection that could trigger the fault again. Always replace the sump seal if it shows any cracking or deformation, as a leak here can cause far more damage than the original error code.
Step 6
Carefully return the dishwasher to upright, slide it back into position, reinstall the kick plate, and reconnect power at the breaker. Run a Normal wash cycle and monitor: the E09 code clears when the control board confirms the element is raising water temperature as expected. If the error returns after a confirmed good element and thermistor, the next suspect is the control board itself — at that point, I recommend professional diagnosis before replacing an expensive part.
Where to Buy Replacement Parts
- Bosch SHPM88Z75N heating element 00773066 replacement
- Bosch dishwasher E09 error code heater fix
- Bosch dishwasher NTC thermistor 00631199 replacement
When to Call a Professional
If the issue persists after completing all the steps above, you may be dealing with a failed main control board, a seized circulation or drain pump, or wiring that requires specialized diagnostic equipment. In that case, contact a licensed appliance technician — and remember to shut off the water supply valve before any work that opens the fill or drain circuit.
How Much Does This Repair Cost?
| Repair route | Typical cost |
|---|---|
| Do it yourself | $20–$80 (parts) |
| Professional repair | $150–$300 (parts and labor) |
Replacing the heater element on a Bosch SHPM88Z75N typically costs $20–$80 in parts if you decide to tackle it yourself. A professional service call for an E09 heater fault usually runs $150–$300, including labor and parts. Going the DIY route can save you $100 or more on this repair.
Frequently Asked Questions
Is it safe to keep running my Bosch SHPM88Z75N when the E09 error appears?
No, you should stop using the dishwasher until the heater fault is resolved. Running it with a faulty heating element can damage other components and leave dishes unsanitary.
How much does it typically cost to replace the heating element on a Bosch SHPM88Z75N?
The replacement heating element usually costs between $40 and $80 for the part alone. Professional labor can add another $100 to $150 to the total repair bill.
Can resetting the dishwasher clear the E09 error permanently?
A reset may temporarily clear the code, but the E09 error will return if the underlying heater fault isn’t fixed. Always inspect the heating element and wiring before assuming the issue is resolved.
Recommended Products
These are the parts and tools I recommend for this repair, based on compatibility and customer reviews:
- Bosch 00165281 Genuine OEM Water Temperature Sensor for Bosch Dishwashers
- 00642855 Gas Range Oven Temperature Sensor Replacement For Bosch Stove 1387367 642855 Budora
- TWTADE 2 Pcs 3M 10K B3950 Thermistor Temperature Sensor, able to Support -25 to 125 Degree Celsius, Sensitive NTC Temperature Sensor Probe with 5 * 25mm Stainless Steel housing NTC-3M-2P
The Heating Element That Ends Most E09 Errors on This Bosch Model
Before you start testing sensors, order the part number 00773066 heating element — this is what actually fails in the majority of E09 failures I see on the SHPM88Z75N. If the element tests bad with a multimeter, swapping it stops the error code cold.
What works
- Direct fit for this exact model — no guessing on part numbers or cross-references needed.
- Heating element failures produce the E09 code consistently, so once you’ve confirmed the element with continuity testing, the repair is straightforward and reliable.
- Replacement takes about 20–30 minutes after you remove the lower spray arm and access panel — the element sits in an accessible location on this model.
What doesn’t
- Availability can be spotty on Amazon — you may need to order from a dedicated Bosch parts supplier if stock is low, which adds a few days to your timeline.
- If your E09 code is actually caused by the NTC sensor (about 20% of cases), replacing the heating element won’t solve it, so multimeter testing beforehand is essential.
I once ordered this element without testing first and found out the sensor was the culprit — wasted a week waiting for the shipment. Always use a multimeter to confirm which component is failing before you commit to the part order, then grab the Bosch SHPM88Z75N heating element 00773066 replacement.
About This Article

Written by Dave Holt. Dave Holt has been taking apart and fixing household appliances since he was a teenager who couldn't leave a broken one alone. Eighteen years later, after fixing things for neighbors, friends, and anyone who'd let him, he's seen almost every failure mode there is. When he writes a repair guide here, it's based on the actual job, not a manufacturer overview. More about this site.
Scope and limits. Dave is a self-taught repairer, not a certified appliance technician. Unplug before you open anything, and leave sealed refrigeration systems, gas connections, and hardwired circuits to a qualified technician.



