
F5 error — door lock
This step-by-step repair guide walks you through fixing f5 error — door lock on your Whirlpool WFW9620HW (Front Load). With the right tools and parts, most homeowners can complete this repair in 1–2 hours and avoid a costly service call.
🔨 Pro Tip from Dave
On the WFW9620HW, the door latch assembly part number is W11307244 — make sure you order this exact one and don’t substitute a generic. A common mistake I see is techs replacing the latch without checking the door strike on the door itself, which can crack and prevent proper engagement even with a brand-new latch installed. Also, always disconnect power for at least 60 seconds before reassembly so the control board resets and clears the error properly.
Part of our Top 20 Washing machine Models & Common Repair Issues Guide. Browse all washing machine repair guides for related models and issues.
“`html
Common Symptoms & Causes
These symptoms typically point to a door lock failure on your Whirlpool WFW9620HW front load washer.
- The washer display shows the F5 error code at the start of or during a cycle
- The door refuses to lock or unlock, leaving laundry trapped inside
- The wash cycle stops mid-run and the machine won’t restart
- You hear a clicking or buzzing sound near the door but the lock never engages
This issue is most commonly caused by a worn or failed door lock assembly, a damaged wiring harness connection to the latch, or a faulty door latch switch that no longer sends the correct signal to the control board.
“`
Safety First
- Unplug the washing machine from the power outlet before starting any repair — never work on a live appliance.
- Shut off the water supply valve before disconnecting any water lines or hoses.
- Wear work gloves when handling metal brackets, sheet metal edges, or sharp components.
- Take photos with your phone before disconnecting any wiring harnesses or connectors.
- Work in a well-lit area with enough floor space to lay removed panels flat.
Tools & Parts Needed
Essential Tools
- Phillips #2 screwdriver
- ¼” nut driver
- Torx T20 screwdriver
- Multimeter
- Bucket and towels
Replacement Parts
- Door lock assembly
- door strike
- T20 Torx driver
- multimeter
Step-by-Step Repair Instructions
Step 1
Unplug the washer before starting any inspection. The door boot seal must be fully seated around the entire front panel flange — if any section has pulled away, the door appears visually closed but the latch tongue cannot reach the strike, triggering F5. Press the seal firmly back into its retaining groove around the full perimeter before moving on.
Step 2
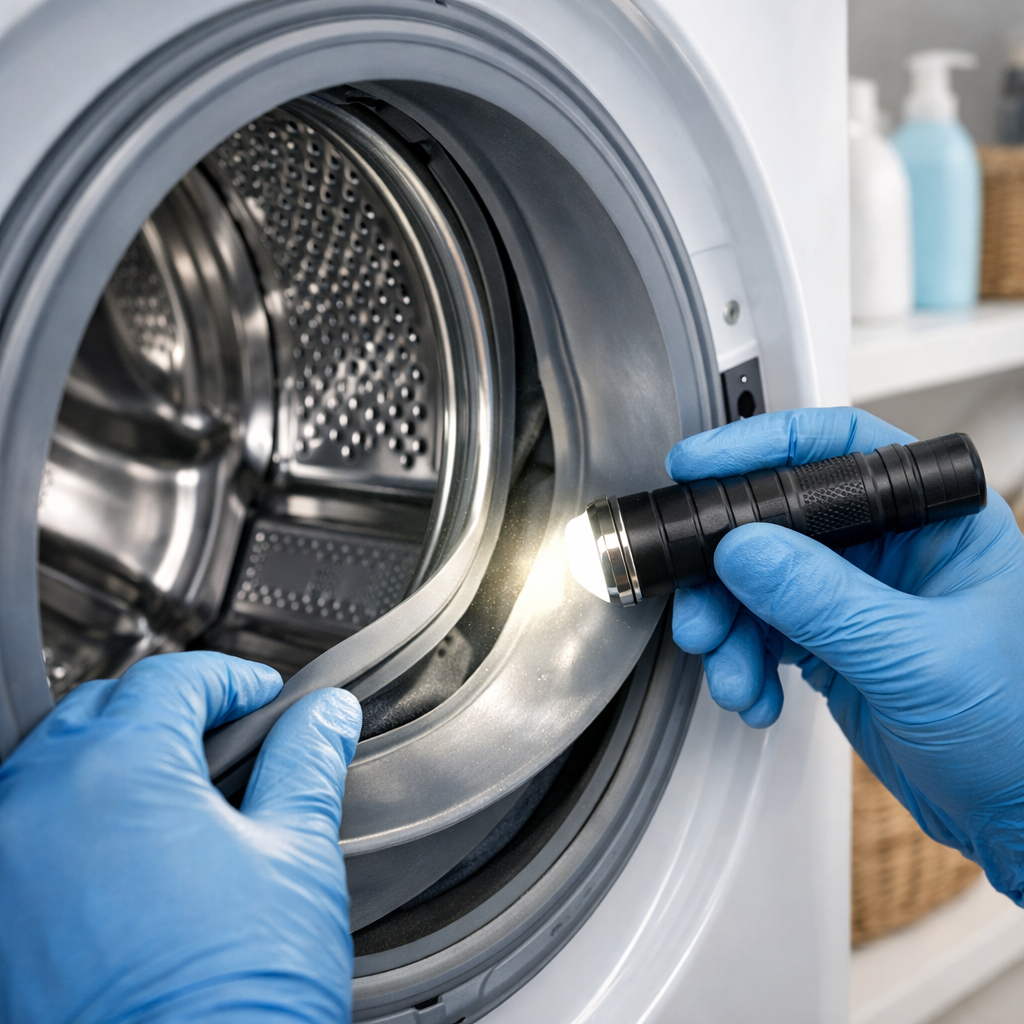
With the boot seal peeled back, inspect the plastic latch strike tab for wear, cracks, or deformation — a damaged strike prevents the lock solenoid from detecting a secure close even when the door feels shut. If the tab is compromised, replace the strike now; it is held by a single Phillips screw and is inexpensive compared to misdiagnosing the lock assembly. Pro tip: shine a flashlight directly on the tab and flex it lightly — hairline cracks that cause intermittent F5 faults are easy to miss in poor lighting.
Step 3
Remove the lower kick panel (2 T20 Torx screws) and reach behind it to disconnect the door lock harness. Set your multimeter to Rx1 and probe the solenoid terminals — an open reading (OL) means the solenoid coil has failed and the lock assembly must be replaced with part W10682535. Safety note: confirm the washer remains unplugged throughout this test; the lock circuit carries 120V during operation.
Step 4
Inspect both door hinges and tighten all three T20 Torx screws per hinge — loose screws allow the door to sag, shifting the latch tongue out of alignment with the strike so the lock cannot engage cleanly. Even a millimeter of sag is enough to cause repeated F5 faults that return after every apparent fix. Pro tip: open the door fully and watch for any lateral play or drop as you lift and release the door edge; movement confirms hinge looseness before you even check the screws.
Step 5
With the kick panel still off, restore power carefully and start a Quick Wash cycle, then use a multimeter set to AC voltage to verify the control board is sending 120V to the door lock harness connector at the moment the cycle attempts to lock. If voltage is absent, the board’s door lock relay has failed and the control board needs replacement — no amount of lock or seal work will resolve F5 without that signal present. Safety note: this test involves live voltage; keep hands clear of all other components and do not touch bare terminals.
Step 6
Reassemble the kick panel, restore power, and run a Quick Wash cycle to confirm the repair. The F5 code will clear as soon as the door lock engages successfully and the control board receives the lock confirmation signal. If the code returns, note whether it appears at the start of the cycle or mid-cycle, as timing can help narrow down whether the issue is mechanical (latch, hinge, seal) or electrical (solenoid, board).
Where to Buy Replacement Parts
Find genuine OEM and aftermarket replacement parts for your Whirlpool WFW9620HW (Front Load) on Amazon:
- Whirlpool WFW9620HW door lock assembly W10682535 replacement
- Whirlpool front load washer door latch boot seal alignment
- Whirlpool washer door hinge T20 Torx repair
When to Call a Professional
If the issue persists after completing all steps above, the problem may involve the sealed refrigerant system, a failed main control board, or wiring that requires specialized diagnostic equipment. Contact a licensed appliance technician — attempting sealed-system repairs without EPA 608 certification is illegal and unsafe.
“`html
How Much Does This Repair Cost?
Replacing the door lock assembly on a Whirlpool WFW9620HW typically costs $30–$80 in parts when you do it yourself. A professional service call for the same F5 error repair usually runs $150–$300, including labor and parts. Tackling this repair DIY-style can save you $100–$220 or more.
“`
Frequently Asked Questions
Can I still use my Whirlpool WFW9620HW while the F5 error is active?
No, the washer will not start a cycle because the control board detects the door lock has failed and locks out operation for safety. Resolve the door lock issue before attempting to run any wash cycles.
Is the F5 error always caused by a faulty door lock assembly?
Not always — a loose wiring harness connection between the door lock and control board is a common culprit. Check and reseat all connectors before replacing any parts.
How much does a replacement door lock assembly cost for the WFW9620HW?
Genuine Whirlpool door lock assemblies typically cost between $30 and $70 depending on the retailer. Using an OEM part ensures proper fit and helps avoid repeat failures.
Recommended Products
These are the parts and tools we recommend for this repair, based on compatibility and customer reviews:
- Washer Lid Lock Assembly (3-Wire) W11307244 W10682535 Fit for Whirlpool Maytag Amana Kenmore, Washing Machine Door Latch Assembly Replaces W10838613 W10838613VP W11253733 PS12704713 W10682535
- Washer Lid Lock Switch by Vancasuk(3-Wire) W11307244 W10682535 Fit for Whirlpool Maytag Amana Kenmore,Washing Machine Door Latch Assembly Replaces ps12704713 AP6832601 4920959 (w11307244)
- W10192995 1471810 Washer Door Latch Lock Fit for Whirlpool Front Load Washer Replace WPW10192995 AP6016671 PS11749964
- Upgraded WH01X29528 Washer Door Lock for GE Front Load Washer, Replaces PS12749276, Fit GFW510SCN0WW GFW510SCN1WW GFW510SCN2WW GFW510SCN3WW GFW510SCN4WW GFW510SCN5WW GFW550SPN0DG
As an Amazon Associate, I earn from qualifying purchases.


